
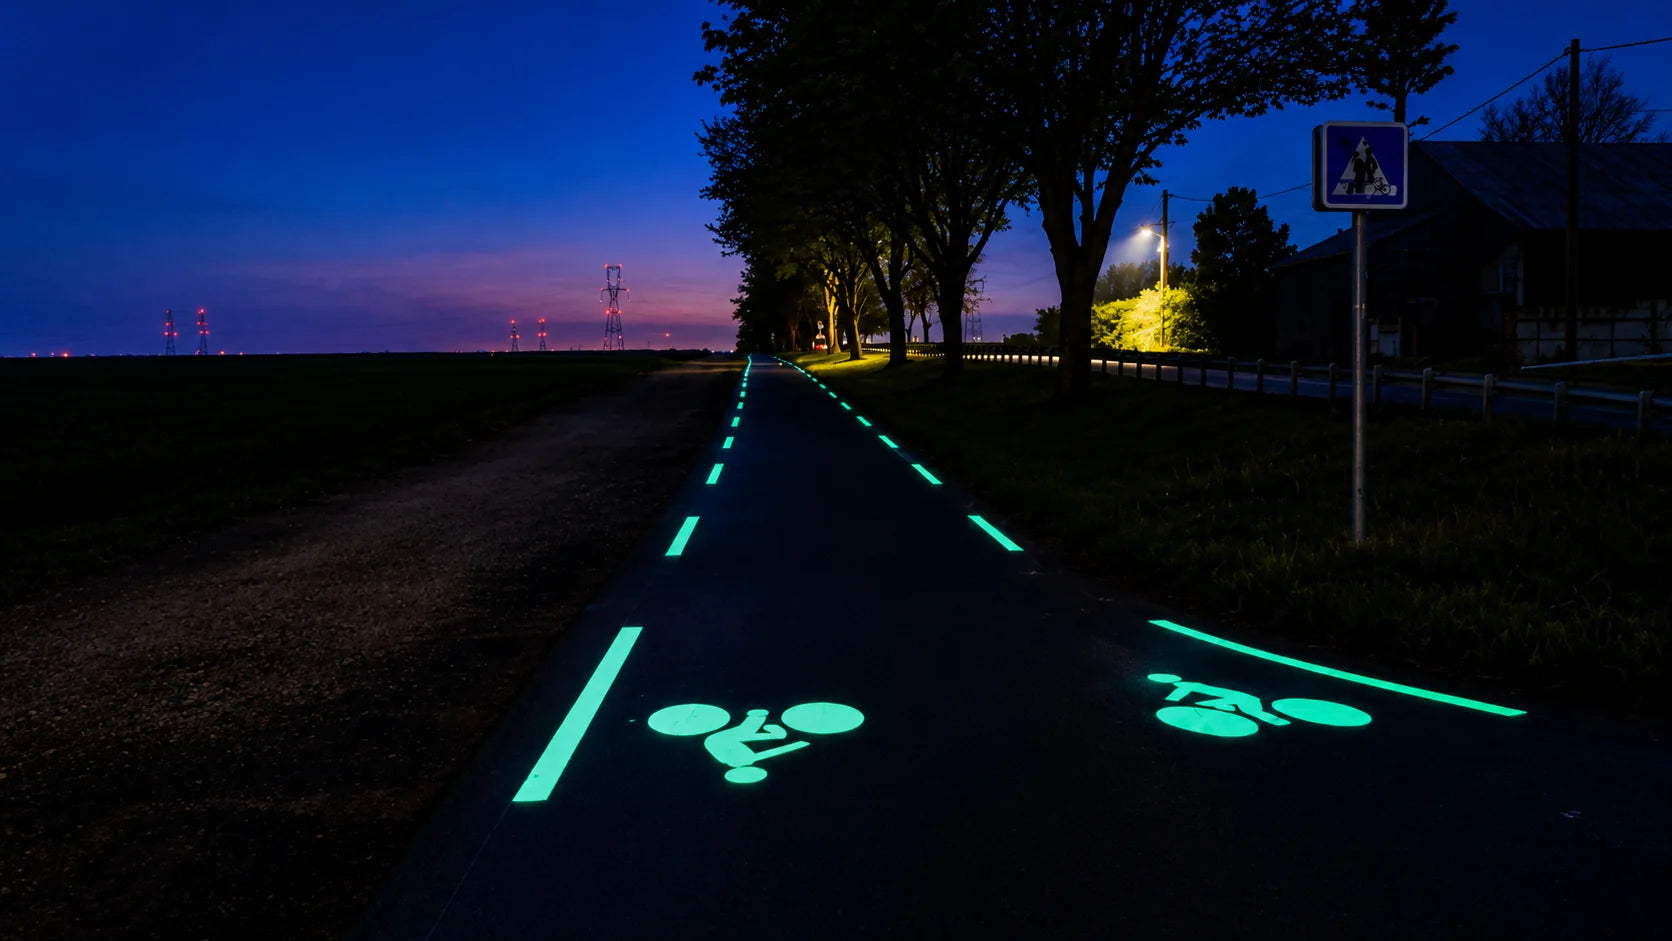
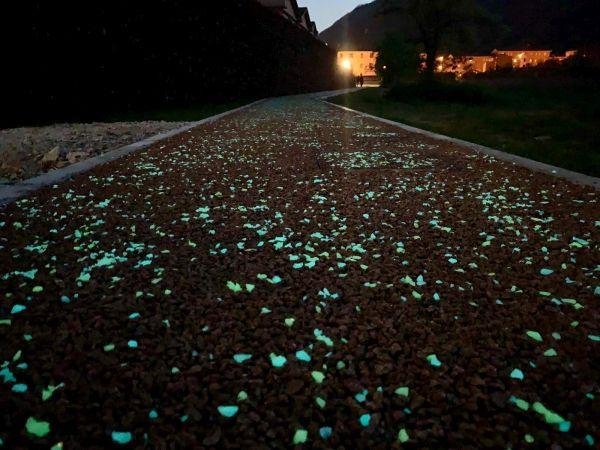
Dim glow stones after installation do not automatically mean poor material quality. A pathway, concrete surface or resin-bound pavement can look much weaker than the original bright sample when any part of the installed system changes.
The nighttime effect depends on Charging Light + Surface Exposure + Stone Density + Binder Transparency + Installation + Cleanliness + Ambient Darkness. Check the eight causes below before replacing the material, and account for the normal fading of afterglow over time. The diagnostic steps and controlled sample comparisons can help distinguish installation, maintenance and material issues.
1. Insufficient charging light
This is the first thing I would check.
Photoluminescent stones need light before they can produce an afterglow.
They can absorb energy from:
-
Sunlight
-
Natural daylight
-
Suitable artificial lighting
But charging conditions vary dramatically from one location to another.
A sample tested outdoors in direct daylight may look bright, while the same material installed under trees or beside a building may receive much less light.
Check daylight, shade and artificial lighting at the site
Look at the pathway during the day.
Ask:
-
How many hours of daylight does it receive?
-
Is it under trees?
-
Is a building blocking sunlight?
-
Is part of the path covered?
-
Does the area rely on artificial lighting?
Don't assume that because the project is outdoors, every part of the pavement receives enough charging light.
2. Stones buried too deeply
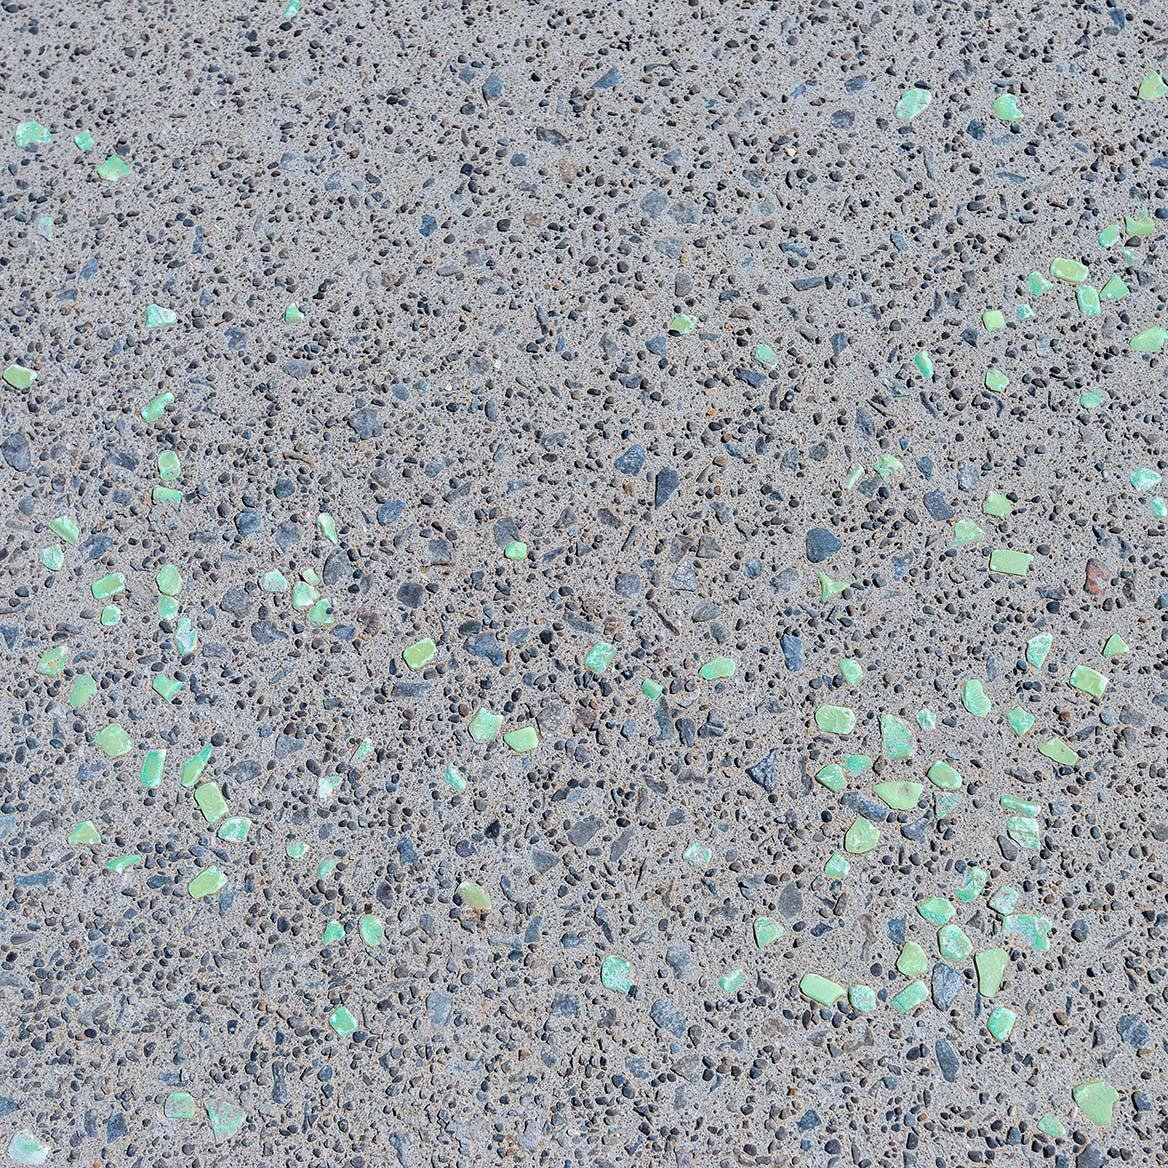
This is one of the most common installation problems.
Glow stones need surface exposure.
If they are buried too deeply in:
-
Concrete
-
Cement paste
-
Resin
-
Natural aggregate
less light reaches the photoluminescent surface.
The stones may still be there, but much of their luminous area is effectively hidden.
In Concrete
Glow stones should generally remain sufficiently exposed near the upper surface.
If cement paste completely covers them, the visible effect can become much weaker.
In Resin-Bound Pavement
The same principle applies.
The stones need to be securely bonded without being unnecessarily hidden beneath opaque materials.
Visible surface area matters.
3. An opaque or cloudy binder blocks light
This is particularly important for resin-bound glow pavement.
Photoluminescent material needs light to travel through the system in both directions:
Light enters during charging
and
Afterglow exits after dark
If the resin is too opaque, cloudy, or heavily pigmented, light transmission can decrease.
A suitable luminous pavement binder should provide a balance of:
Transparency + Adhesion + UV Resistance + Water Resistance + Wear Resistance
This is why glow stones should not simply be mixed into any available resin.
4. Resin or topcoat yellowing reduces transparency
A glow pathway may look good immediately after installation but gradually appear weaker outdoors.
Sometimes the glow stone itself is not the problem.
The transparent material surrounding it may have changed.
Outdoor UV exposure can cause unsuitable resin or clear coatings to:
-
Yellow
-
Become cloudy
-
Lose transparency
-
Degrade
Once that happens, less light reaches the luminous material.
Compare loose and resin-embedded stones under the same light
Compare an exposed glow stone with one inside the installed resin.
Charge both under the same light.
If the loose stone performs noticeably better, inspect the resin or topcoat before assuming the aggregate has failed.
5. Glow stone density is too low for the intended effect
Sometimes the individual stones glow correctly, but the entire pathway still looks weak.
This may simply be a coverage issue.
Imagine 100 m² of dark pavement with only a very small amount of luminous aggregate.
Each stone can perform perfectly, but from several meters away the pavement may still look almost dark.
This is where glow stone density matters.
Low Density
Creates scattered points similar to stars.
Medium Density
Creates a recognizable luminous pathway.
High Density
Creates a much stronger full-surface effect.
None of these is automatically right or wrong.
The correct density depends on the design goal.
6. Dirt covers the luminous surface
This problem is easy to underestimate.
Outdoor pathways collect:
-
Dust
-
Mud
-
Leaves
-
Tire residue
-
Moss
-
Organic material
Contamination can cover the luminous surface and block charging light.
The glow stones may still work normally underneath.
Compare a cleaned test section before replacing material
Clean a small section thoroughly.
Then allow the cleaned and uncleaned areas to receive the same daylight.
Compare them after dark.
If the cleaned area looks noticeably brighter, maintenance—not material failure—may be the main issue.
7. Bright surroundings reduce visual contrast
Photoluminescent pavement depends heavily on contrast.
The same glow stones can look very different in two environments.
Location A: a dark garden
Dark garden with very little surrounding light.
The stones may appear extremely bright.
Location B: a brightly lit commercial plaza
Commercial plaza with streetlights, storefronts, and landscape lighting.
The same stones may appear much less noticeable.
This is not necessarily because they are producing less afterglow.
Your eyes are adapting to a brighter environment.
Ambient Darkness Matters
Photoluminescent pavement is usually most visually impressive in:
-
Parks
-
Gardens
-
Scenic routes
-
Low-light landscapes
-
Dark pedestrian paths
In brightly illuminated environments, the visual contrast is naturally lower.
8. The comparison photograph creates unrealistic expectations
This happens more often than people realize.
Night photographs are heavily influenced by camera settings.
A camera can use:
-
Long exposure
-
High ISO
-
Wide aperture
-
Night mode
-
Image enhancement
and make luminous pavement look dramatically brighter than it appears to the human eye.
So if a real installation does not look exactly like a supplier photograph, that does not automatically mean something went wrong.
Compare physical samples under controlled conditions
The best comparison is:
Same Material + Same Charging + Same Environment + Same Observation Time
Not two photographs taken with unknown camera settings.
Also check observation time: afterglow naturally fades
Photoluminescent materials do not maintain constant brightness.
After charging, the typical pattern is:
Strong Initial Glow → Gradual Brightness Decay → Low-Level Afterglow
If you inspect the pathway immediately after sunset, it may look quite bright.
Several hours later, it will naturally appear dimmer.
That is normal photoluminescent behavior.
It should not be compared with LED lighting, which can maintain controlled brightness while powered.
Diagnose a dim glow pathway in seven steps
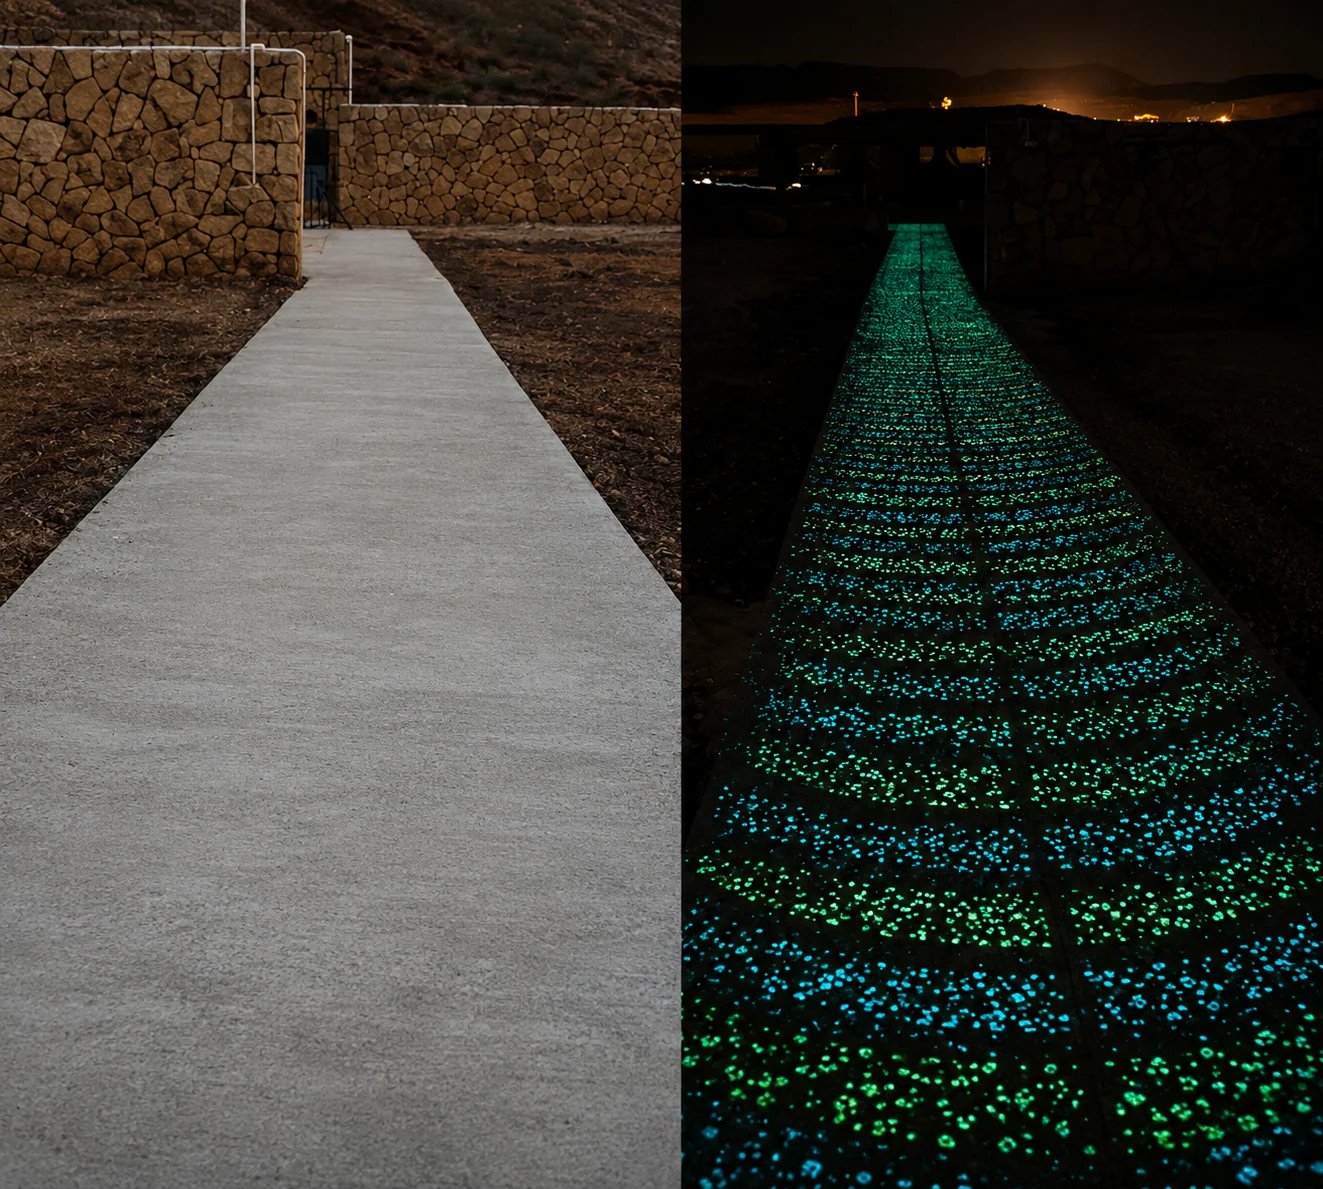
Instead of immediately replacing the material, troubleshoot the system in order.
Step 1: Clean a Test Area
Remove surface contamination.
Step 2: Give It Strong Charging Light
Expose the area to suitable light under controlled conditions.
Step 3: Compare Loose and Installed Stones
This helps determine whether the problem is the luminous material or the installation system.
Step 4: Inspect Surface Exposure
Check whether concrete, resin, or aggregate is covering too much of the stone.
Step 5: Check the Binder
Look for:
-
Yellowing
-
Cloudiness
-
Dirt
-
Surface degradation
Step 6: Evaluate Stone Density
Ask whether the installed quantity actually matches the visual effect the project expected.
Step 7: Check Ambient Lighting
Evaluate the pavement under realistic nighttime conditions.
Compare four test areas to narrow down the cause
If I were troubleshooting an existing project, I would select four small areas:
Area A — Existing Surface
Leave it unchanged.
Area B — Cleaned Surface
Clean thoroughly.
Area C — Strongly Charged Surface
Clean and expose to controlled light.
Area D — Loose Original Material
Charge unused glow stones separately.
Then compare all four at the same time after the lights are removed.
This simple test can reveal a lot.
If only one section is dim, compare local conditions
If one part of a pathway performs well and another does not, the material itself may not be the first suspect.
Check differences in:
-
Shade
-
Installation thickness
-
Surface contamination
-
Resin quantity
-
Glow stone distribution
-
Drainage
A long pathway can have very different micro-environments.
If the whole project is dim, check the approved specification
If the entire project is weaker than the approved sample, compare the construction with the sample specification.
Check:
-
Was the same stone used?
-
Was the same particle size used?
-
Was the same density used?
-
Was the same resin used?
-
Was the material installed at the same depth?
-
Were the charging conditions comparable?
Small changes can create a large visual difference.
Concrete pathways: exposure, density and cleanliness checks
For concrete installations, common causes include:
Too Much Cement Paste
The luminous stones become partially hidden.
Stones Pressed Too Deeply
Insufficient surface exposure.
Low Distribution Density
Too few visible luminous points.
Dirty Surface
Reduced charging.
For this reason, a sample section should reproduce the actual construction process, not just place glow stones loosely on a table.
Resin-bound pathways: transparency, grading and exposure checks
For resin-bound glow pavement, check:
-
Resin transparency
-
Glow stone percentage
-
Aggregate grading
-
Resin quantity
-
UV stability
-
Surface exposure
A beautiful daytime resin surface does not automatically guarantee strong nighttime glow.
Both conditions need to be evaluated.
Does adding more glow stones solve every dimness problem?
No.
If the problem is poor charging because the pathway is permanently shaded, adding more glow stones may simply increase cost.
If the problem is opaque resin, increasing luminous aggregate may not solve the underlying issue either.
Diagnose the cause first.
Then decide whether you need to change:
-
Material quantity
-
Installation method
-
Binder
-
Lighting conditions
-
Maintenance
Prevent weak glow with a real-site test section
The best troubleshooting happens before the project starts.
Create a real-site test section.
Not just a laboratory sample.
Use the actual:
-
Glow stones
-
Natural aggregate
-
Concrete or resin
-
Installation thickness
-
Substrate
-
Location
Then leave the sample under normal site conditions.
Test both open and shaded locations
If the project has both open and shaded sections, make samples in both.
For example:
Sample A — Full Daylight
Sample B — Partial Shade
Sample C — Heavy Shade
This gives the project owner realistic expectations before hundreds of square meters are installed.
Compare low, medium and high glow stone densities
You can also compare:
Low Density
Medium Density
High Density
This is much more reliable than selecting consumption based only on an online photograph.
Keep an approved reference sample
For larger projects, keep an approved sample panel.
Later, if there is a disagreement about brightness or appearance, the installed pavement can be compared with the original approved standard.
This is particularly useful for contractors and distributors.
When controlled testing points to material quality
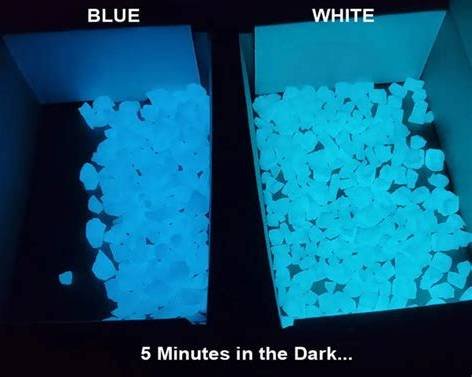
Material quality should be investigated when properly controlled testing shows that the luminous material itself performs poorly.
For example:
Take a loose stone from the same batch.
Charge it under suitable light.
Compare it with a known reference material under identical conditions.
If the loose material itself produces significantly weaker afterglow, then material quality becomes a more likely cause.
The key word is controlled comparison.
Troubleshoot the complete pavement system
When glow stones look dim after installation, don't immediately assume the stones have failed.
The real cause may be:
1. Insufficient charging light
2. Stones buried too deeply
3. Opaque binder
4. Resin yellowing
5. Low stone density
6. Dirty surface
7. Strong surrounding light
8. Unrealistic photo comparison
Photoluminescent pavement works as a complete system.
The final nighttime effect depends on:
Glow Material + Charging + Surface Exposure + Binder + Density + Environment + Maintenance
For contractors, landscape designers, and project owners, a real-site sample installed with the same construction method is one of the most useful ways to avoid disappointing results.
FUXIN supplies Photoluminescent Glow Stones, Glow Aggregate, Long Afterglow Pigments, Transparent Resin Binders, Resin-Bound Glow Materials, and Luminous Pavement Systems for gardens, parks, resorts, concrete pathways, and landscape projects.
For samples, troubleshooting support, material selection, or project recommendations, please contact us.