

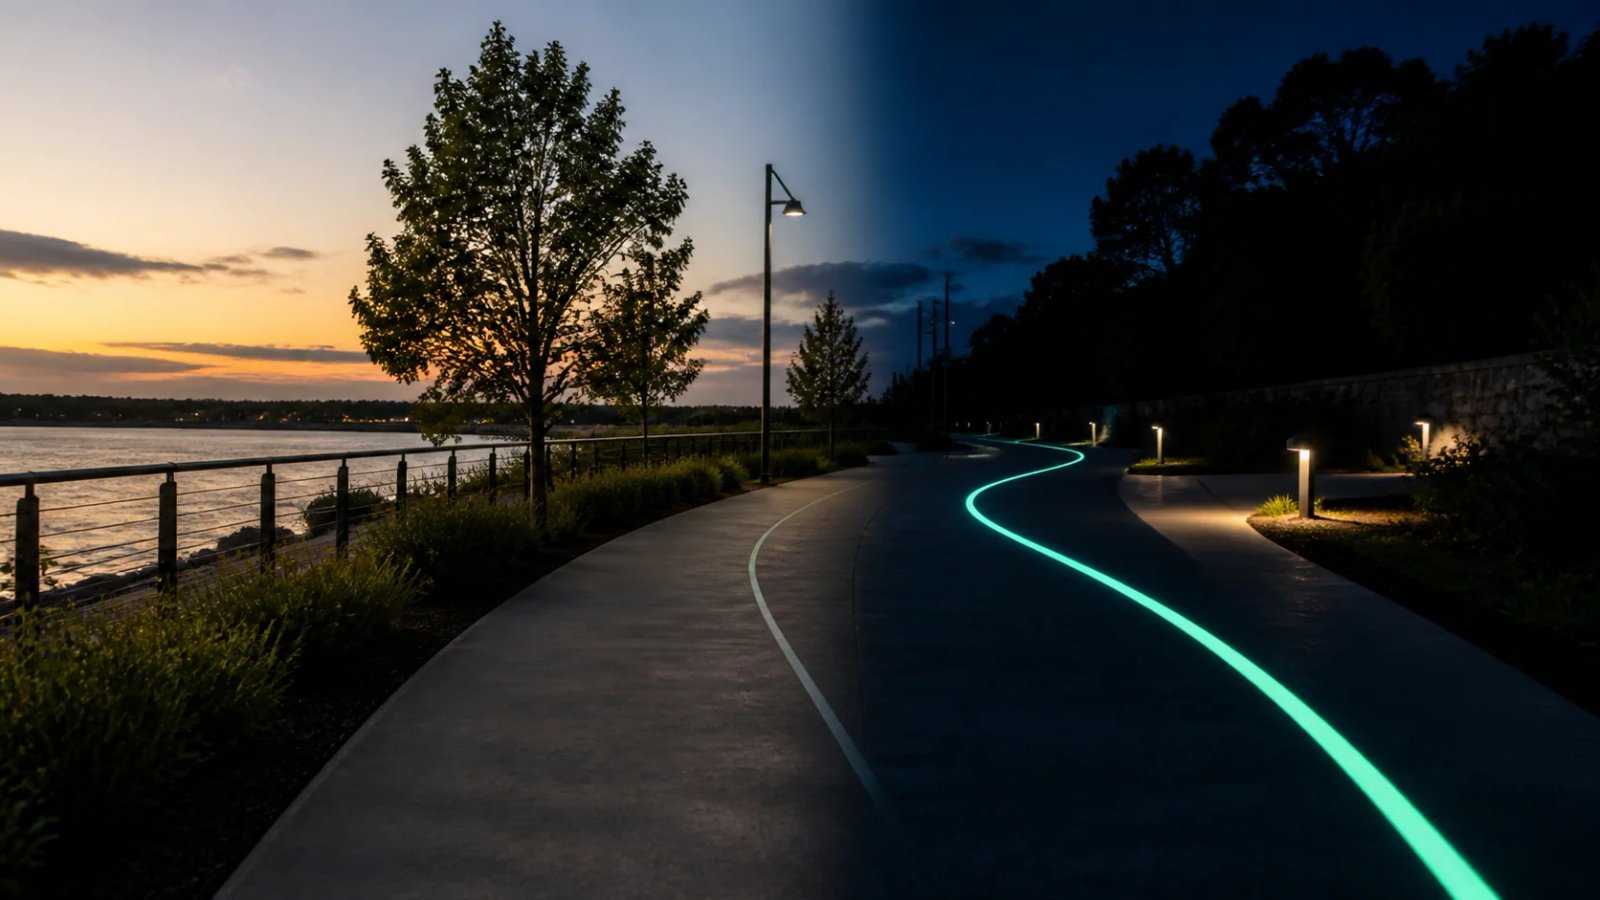
For contractors delivering complete systems, a practical sequence from survey and layout through curing and night inspection starts with a site-specific brief rather than a generic product claim. A luminous marking is part of a complete pavement, lighting, wayfinding, and maintenance system.
The right result depends on how the route is used, how much charging light reaches the surface, and how the marking interacts with the existing pavement and safety controls. Treat the material choice, layout, and installation method as one decision.
What to evaluate
- layout control and reference points
- material staging and batch traceability
- application conditions
- inspection and reopening criteria
A practical workflow
- set out the pattern and protect the work zone
- prepare and approve a sample panel
- install in controlled sections
- inspect day and night, then release the surface
Questions to answer before approval
The exact sequence varies by material; use the product TDS and the project's safety plan as the controlling documents. Ask the project team to confirm the substrate, marked area, traffic or pedestrian loading, charging-light conditions, climate, installation window, and maintenance responsibility. These details make supplier quotes and field decisions comparable.
Plan the complete system
FUXIN Group supplies photoluminescent road marking materials and luminous aggregate systems for shared paths, crossings, cycle lanes, parking areas, landscape routes, and custom guidance projects. Share the site location, surface, area, target pattern, and nighttime objective to discuss samples and a suitable system.