
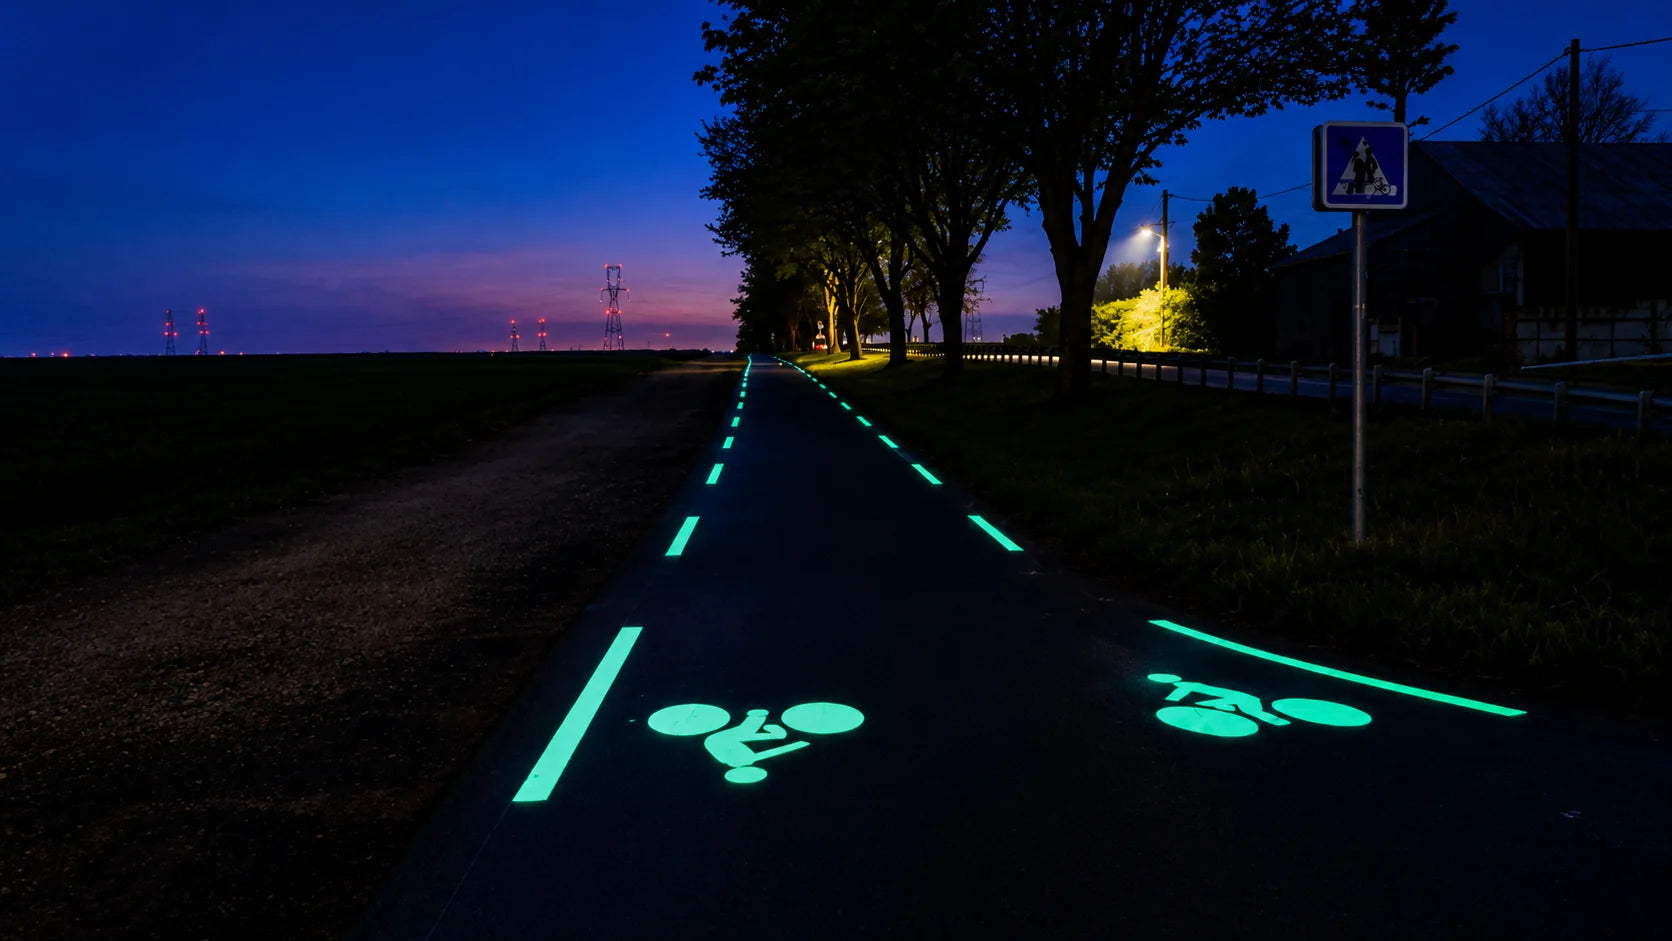
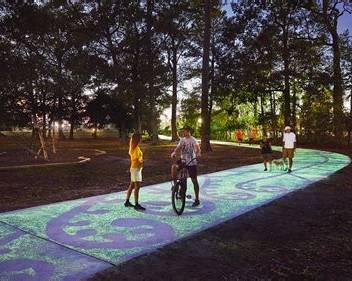
Photoluminescent aggregate for bike paths needs to be planned around how cyclists see and use the route. Riders move faster than pedestrians, view the pavement from a different angle, and need to recognize bends, intersections and route changes from farther away.
A nighttime photo alone is not enough to evaluate a cycling route. Aggregate placement, particle size, surface texture and surrounding light all affect the design; adding more glow stones alone is not always the answer.
This guide explains how to plan edge bands and selected luminous zones, then evaluate them with on-site test sections and ride-through checks. Photoluminescent aggregate is a passive surface feature and should not automatically replace required lighting, signs or road safety systems.
Design for Cyclist Speed and Viewing Distance
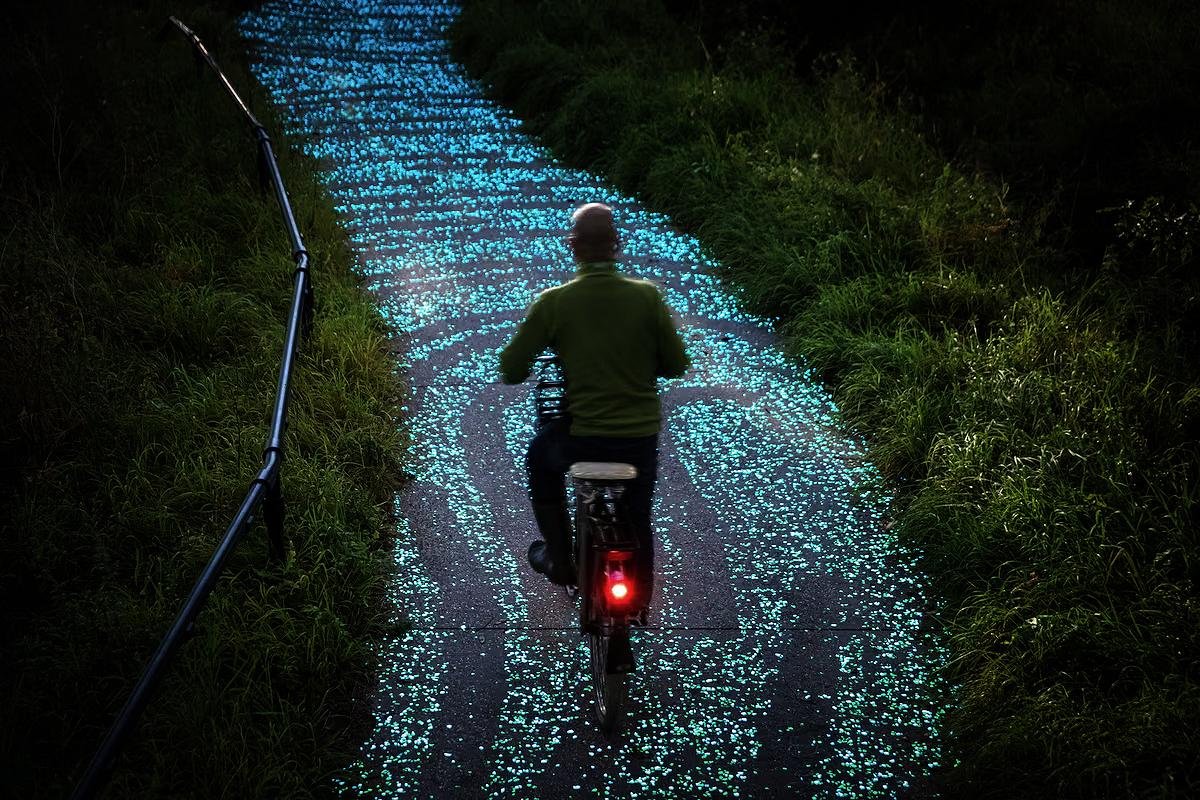
A pedestrian may walk at a relatively slow speed and look directly at the surface nearby.
A cyclist may approach the same area much faster.
This changes how luminous pavement is perceived.
A pattern that looks beautiful from one meter away may be difficult to recognize when approaching from ten or twenty meters.
For this reason, bike path design should consider:
-
viewing distance
-
riding speed
-
path width
-
curves
-
intersections
-
surrounding lighting
-
pavement color
-
luminous pattern size
The project should be evaluated as a route, not just as a square meter of glowing surface.
Full-Surface Glow Is Only One Option
When people first imagine a luminous bike path, they often think the entire surface should glow.
That is possible.
But it is not the only design.
Photoluminescent aggregate can also be concentrated in:
-
edge bands
-
center strips
-
curves
-
intersection zones
-
entrance areas
-
symbols
-
directional patterns
A carefully designed partial application can sometimes create a clearer route while using less material.
This can also make the project easier to budget.
Using Luminous Edge Bands to Define the Route
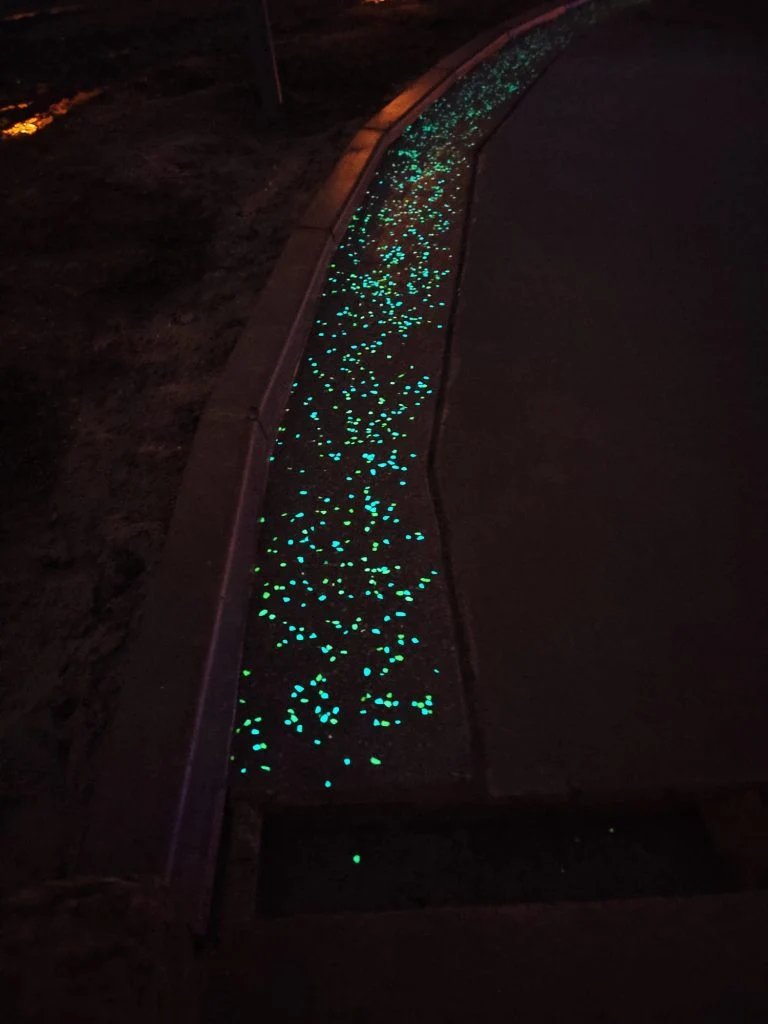
One practical approach is to concentrate luminous aggregate along the edges of the cycling path.
At night, the glowing lines help define the usable corridor.
This design can be particularly interesting for:
-
park bike paths
-
waterfront trails
-
resort cycling routes
-
scenic greenways
-
recreational paths
The center of the path can remain relatively conventional while the boundaries become visually recognizable.
From a distance, continuous bands may be easier to understand than scattered individual glowing points.
Plan Luminous Placement Around Bike Path Bends
Straight sections are usually easy to follow.
Curves are different.
If the path changes direction in a low-light area, cyclists need to recognize that change before reaching it.
One design strategy is to increase luminous visibility at:
-
sharp curves
-
switchbacks
-
narrow sections
-
transitions
This does not necessarily mean dramatically increasing the amount of glow aggregate.
It may simply mean concentrating the material in the right place.
A project that uses identical luminous density everywhere may be less efficient than one designed according to path geometry.
Intersections Should Look Different From Normal Path Sections

A crossing or junction should not visually disappear into the rest of the pavement.
If several paths meet, a designer can use photoluminescent material to create a distinct visual zone.
Possible approaches include:
-
denser luminous aggregate
-
wider bands
-
contrasting glow colors
-
directional arrows
-
repeated patterns
The goal is not to replace required signs or markings.
The luminous surface can provide an additional visual layer within the overall path design.
Entrance Areas Are Good Places for Stronger Glow
The beginning of a luminous trail is another useful design zone.
A stronger luminous feature at the entrance can tell users:
this pathway has a nighttime visual system.
An entrance feature might use:
-
higher aggregate density
-
a luminous border
-
a custom symbol
-
a short full-width luminous section
After that, the rest of the trail can use a more economical distribution.
This can create a strong first impression without requiring high-density material across the entire project.
Select Particle Size for Visibility and Surface Texture
Particle size affects more than texture.
It also changes how the luminous pattern appears from farther away.
1–5mm
Small particles create many fine luminous points.
They can produce a dense, smooth-looking glow pattern when viewed closely.
Suitable for:
-
detailed decorative surfaces
-
fine bands
-
dense visual textures
However, individual particles may be less noticeable from a longer distance.
5–10mm
Medium particles provide stronger individual visibility while still distributing well across the surface.
This size can be useful for:
-
general cycle paths
-
edge bands
-
landscape routes
-
public trails
10–20mm
Large particles create stronger individual visual points.
They may work well in:
-
decorative zones
-
borders
-
feature areas
But surface texture becomes more important, especially for cycling comfort.
For a bike path, particle size should be selected together with the finished surface texture.
Smoothness Still Matters
A bicycle path is not just a visual surface.
It is a riding surface.
Large protruding aggregate or uneven installation can affect comfort.
That means photoluminescent aggregate should be securely integrated into the pavement rather than sitting loosely on top.
The finished system should maintain:
-
appropriate surface evenness
-
aggregate retention
-
acceptable texture
-
drainage
The glow effect should be designed around the pavement function, not the other way around.
Asphalt and Concrete Create Different Visual Effects
Both asphalt and concrete can be used in luminous path designs, but the nighttime appearance differs.
Dark Asphalt
Black or dark asphalt creates strong contrast with blue, blue-green and yellow-green luminous particles.
During the day, light-colored particles may remain visible as small decorative points.
At night, the contrast can become much stronger.
Concrete
Concrete provides a lighter background.
Photoluminescent aggregate can be:
-
surface-seeded
-
exposed
-
integrated into decorative bands
The finish can look more architectural and may suit parks, plazas and resort environments.
The choice should depend on the complete project, not just glow appearance.
Which Glow Color Works Best for Bike Paths?
There is no single best color.
The choice depends on the visual goal and surrounding environment.
Yellow-Green
Often appears very noticeable in dark surroundings.
It can be useful for route edges or zones where stronger nighttime recognition is desired.
Blue-Green
Provides a balance between visibility and decorative character.
It can work well for long landscape paths.
Blue
Creates a cooler and more distinctive visual appearance.
It may be particularly attractive in:
-
waterfront routes
-
modern parks
-
resorts
-
recreational landscapes
For larger projects, test several colors at the actual site before final selection.
Surrounding Street Lights Can Change the Result
A luminous bike path under strong urban lighting will not look the same as one in a dark park.
Nearby lighting can include:
-
street lamps
-
vehicle headlights
-
commercial buildings
-
landscape lights
Strong ambient light reduces visual contrast.
The glow aggregate may still be functioning normally, but it may appear less dramatic.
This is why project photos taken in complete darkness should not be the only basis for design decisions.
Inspect the site at night.
A Long Trail Should Be Tested at Different Locations
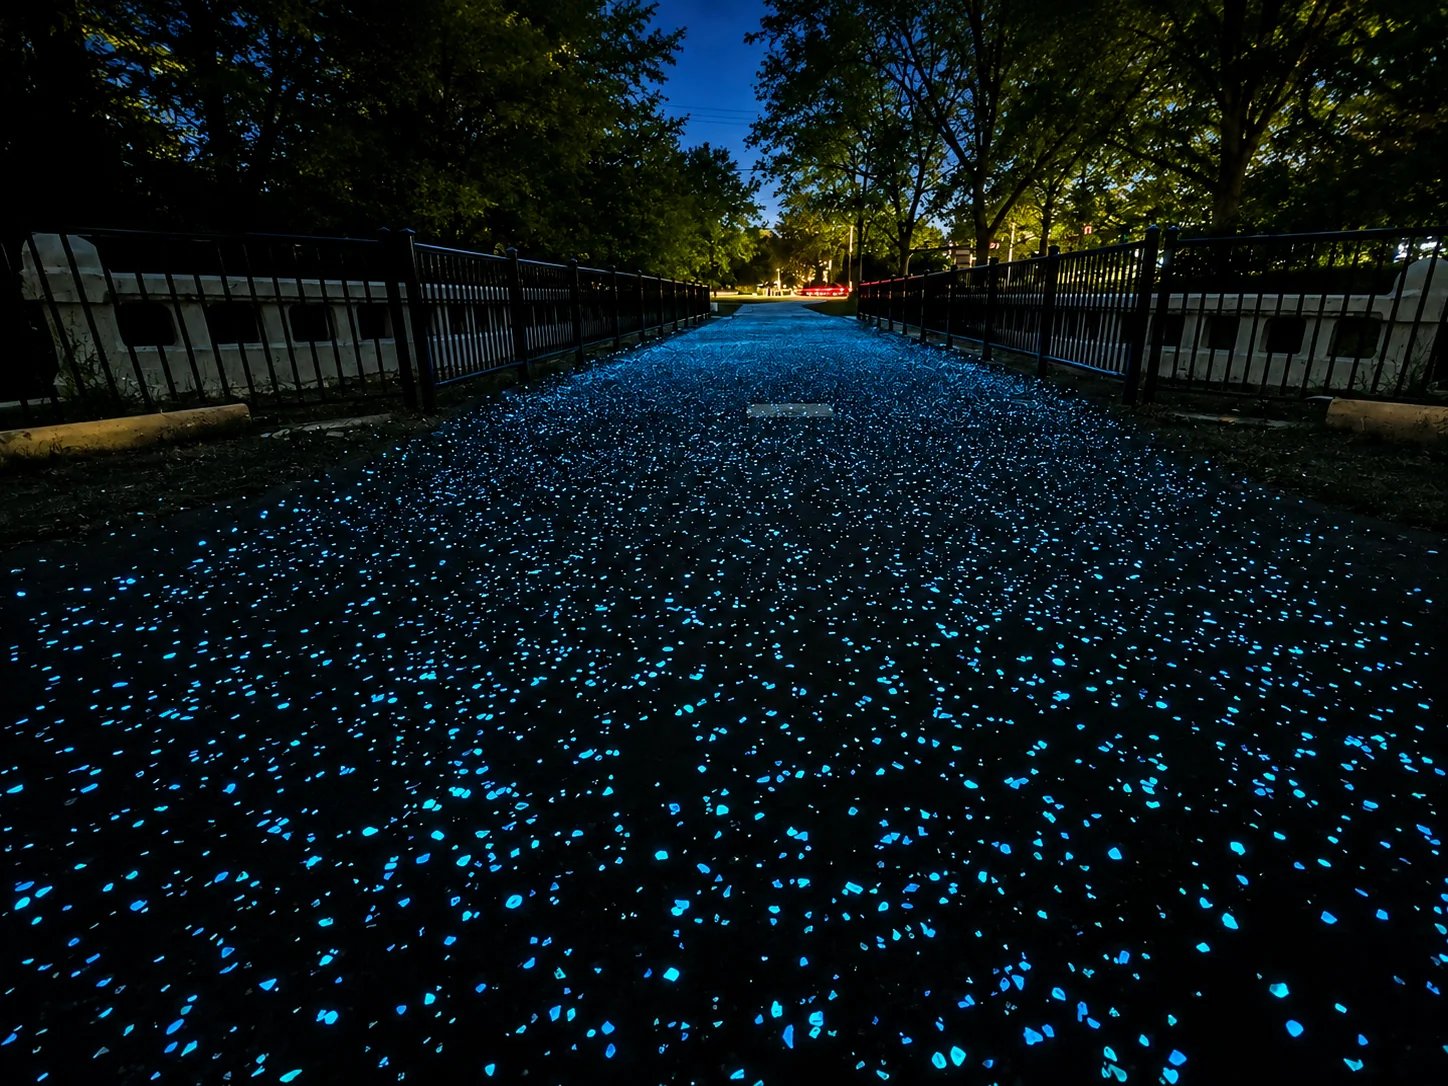
A long bike path may not have the same lighting conditions throughout.
One section may be fully open to sunlight.
Another may be under trees.
Another may pass close to a brightly lit road.
For long-distance projects, do not assume one small test area represents the entire route.
Instead, identify representative zones such as:
open sunny area
shaded area
bright urban area
dark landscape area
Then evaluate how the same photoluminescent aggregate performs in each condition.
This gives the designer a much more realistic understanding of the final result.
More Material Is Not Always the Best Solution
Suppose one section of the cycle path looks weaker than expected.
The simple response might be:
“Add more glow aggregate.”
But first ask why it looks weak.
Possible reasons include:
-
poor charging
-
excessive embedment
-
dirt
-
strong ambient lighting
-
unsuitable particle size
-
low visual contrast
Increasing material consumption without solving the actual problem can increase project cost without producing the expected improvement.
Design and installation quality matter as much as quantity.
Use Patterns That Can Be Recognized at Speed
A cyclist has less time to inspect small details than a pedestrian.
This means decorative patterns should be large enough to remain recognizable while moving.
Very small stars, dots or complex graphics may look good in close-up photos but provide little value from riding distance.
For cycling routes, simpler patterns can often work better:
-
continuous bands
-
repeated blocks
-
wide curves
-
large directional forms
The pattern should be tested from a cyclist's perspective, not only from standing height.
Test the Sample Section From a Moving Bicycle
This is one of the most useful project tests.
After a sample section is installed, do not only stand next to it.
Walk through it.
Then ride through it.
Evaluate:
-
when the luminous surface first becomes visible
-
how the pattern looks from a distance
-
whether curves are clear
-
whether transitions are confusing
-
whether the surface texture feels comfortable
A bike path should be evaluated as a moving experience.
This gives much better information than a single nighttime photo.
Test More Than One Coverage Density
For a sample section, consider creating several zones.
For example:
Zone A — light scatter
A subtle decorative glow.
Zone B — medium density
Clearer route recognition.
Zone C — concentrated edge band
Higher visual contrast along the path boundary.
Then inspect all three from the same riding distance.
This helps determine whether full-surface coverage is actually necessary.
Combine Photoluminescent Pavement With Other Guidance Elements
A bike path does not need to rely on one technology.
Photoluminescent aggregate can be combined with:
-
conventional signs
-
reflective markings
-
standard lighting
-
solar lights
-
tactile or physical edge elements
Each system serves a different purpose.
Glow aggregate can contribute a passive visual feature without needing every luminous particle to be wired or powered.
But required safety infrastructure should still be determined by the project and applicable local requirements.
Maintenance Should Be Planned From the Start
Bike paths collect:
-
dirt
-
leaves
-
tire residue
-
dust
-
organic debris
If the luminous aggregate becomes covered, visible glow may decrease.
For routes under trees, cleaning requirements may be higher.
Maintenance planning should therefore consider:
-
vegetation
-
drainage
-
cleaning access
-
traffic
-
seasonal leaf fall
A luminous surface that cannot be maintained easily may not deliver consistent long-term appearance.
Document the Material Specification
For long public or commercial routes, record:
-
glow color
-
particle size
-
supplier
-
coverage
-
pavement system
-
installation method
-
sample approval
This information becomes valuable later if sections need repair.
A local patch can then be matched more closely to the original surface.
Cost Should Be Calculated by Design Zone
Instead of calculating one uniform kg/m² rate for the entire path, consider dividing the project into zones.
For example:
Straight sections — low or medium density
Curves — increased luminous emphasis
Intersections — high-visibility pattern
Entrances — feature treatment
Decorative zones — custom design
This can make material use more efficient and create a more intentional nighttime route.
A Practical Example
Imagine a 1,000-meter landscape cycle path.
Instead of applying high-density luminous aggregate over the entire surface, the design might use:
-
continuous blue-green edge bands
-
stronger yellow-green treatment at sharp curves
-
luminous entrance panels
-
denser treatment at intersections
The result could provide stronger visual structure while avoiding unnecessary full-surface material consumption.
The exact design should be confirmed through a test section.
Frequently Asked Questions
Can photoluminescent aggregate be used on bike paths?
Yes, it can be incorporated into suitable concrete, asphalt and other compatible pavement systems. The design should consider surface texture, visibility and local project requirements.
Is full-surface glow necessary?
No. Edge bands, patterns and selected high-visibility zones can also be used.
What particle size is best for cycling paths?
The best size depends on the surface system and desired appearance. Medium particles can provide a balance between visible luminous points and manageable texture, but testing is recommended.
Which color is best?
Yellow-green may be more noticeable in dark conditions, while blue and blue-green are often selected for decorative landscape designs.
Can glow aggregate replace bike path lighting?
It should not automatically be treated as a replacement for required lighting or road safety systems. It is better considered as a passive luminous surface feature.
Should a test section be ridden on?
Yes. A real ride-through test helps evaluate visibility, pattern recognition and surface texture from the cyclist's perspective.
A Better Design Question
When planning a luminous cycle path, don't begin with:
“How many kilograms of glow aggregate do we need?”
Begin with:
“What does the cyclist need to recognize along this route?”
Then design the luminous areas around:
edges + curves + intersections + entrances + viewing distance.
Only after the design is clear should material quantity be calculated.
That approach can produce a more effective project and a more efficient material budget.
Final Thoughts
Photoluminescent aggregate can add a distinctive nighttime identity to bike paths, greenways and recreational cycling routes.
But the best results come from treating it as part of the pathway design, not simply as decorative gravel.
Consider:
rider speed + viewing distance + path geometry + particle size + glow color + ambient lighting + maintenance.
For larger projects, build a real sample section and ride through it at night before approving the full installation.
A test viewed from a bicycle can reveal things that a close-up sample photo never will.