
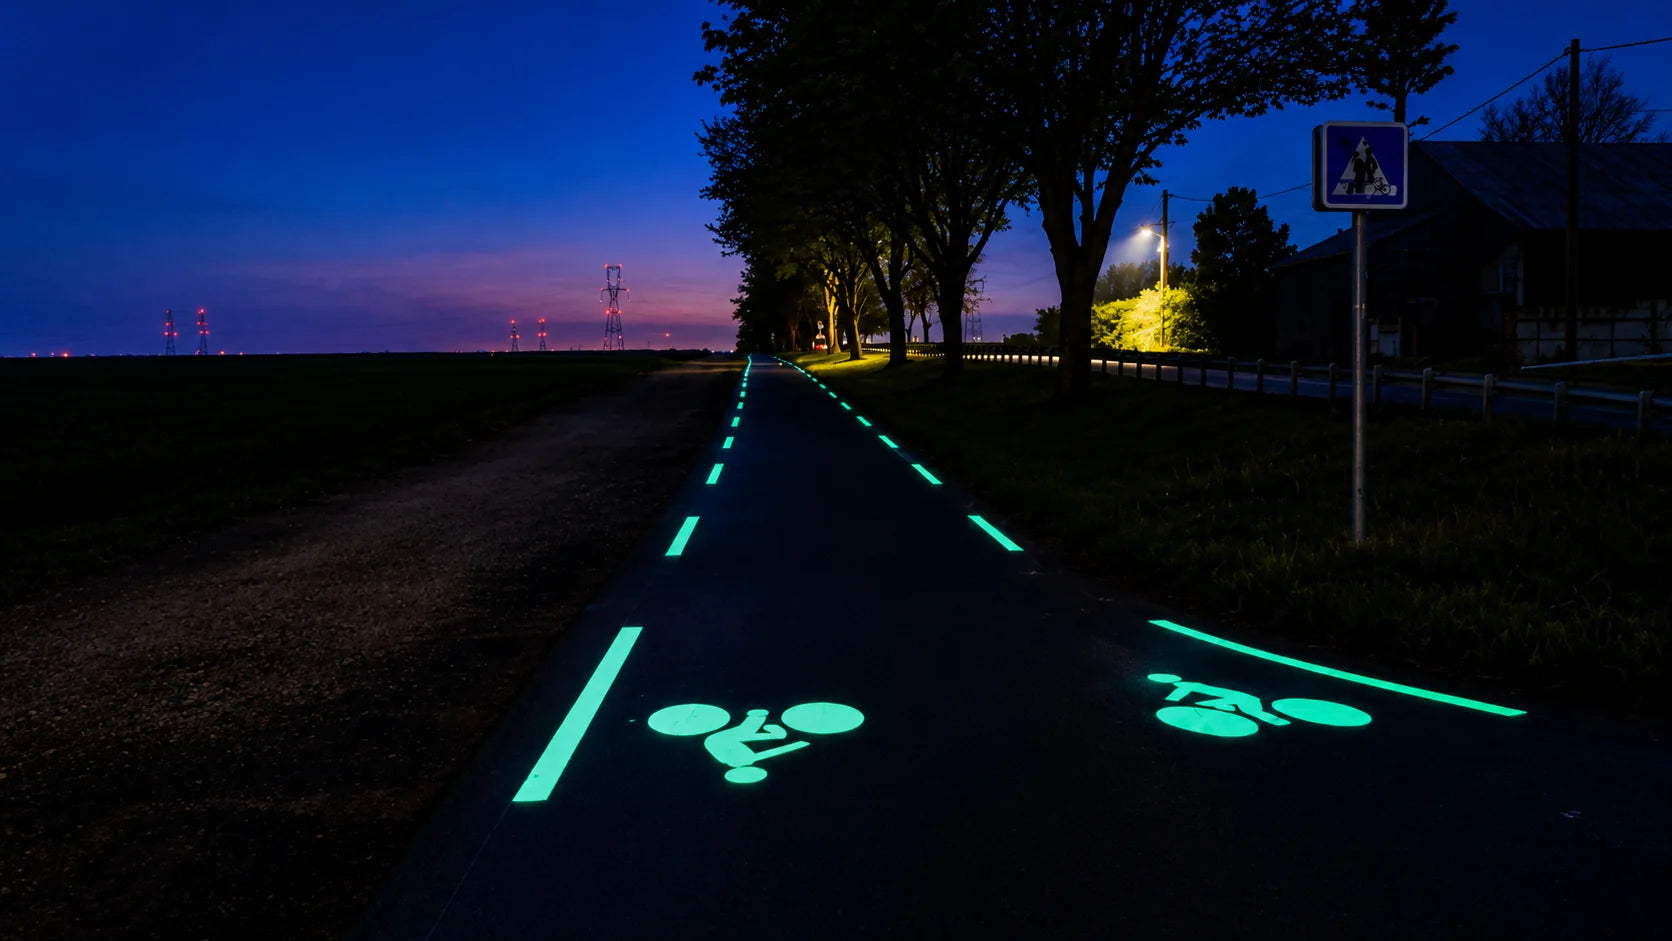
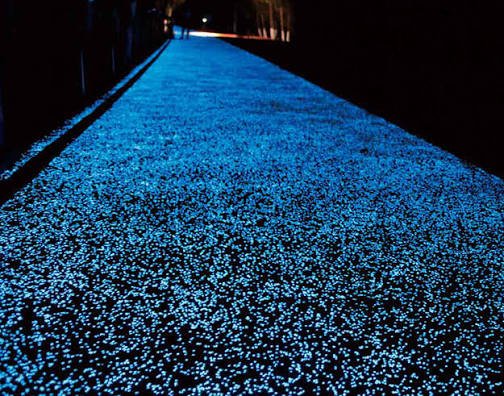
Choosing photoluminescent aggregate for outdoor paving starts with the project conditions, not color, stone size or price alone. The same aggregate can produce different nighttime results because of particle size, installation method, surface exposure, pavement color, available daylight, surrounding nighttime lighting, application density and the binder or concrete system.
For pathways, landscapes, concrete pavement and decorative outdoor projects, define the visual goal and expected use before selecting material. Compare samples under the actual charging conditions, build a small installed test area, and only then confirm the quantity for the full project.
Define the project conditions before selecting aggregate
One of the most common mistakes buyers make is asking:
“What is your brightest glow stone?”
That sounds reasonable, but it is not always the most useful first question.
A better question is:
“Where will the aggregate be installed?”
A residential garden path and a commercial landscape plaza may need completely different solutions.
Before selecting the material, identify:
- indoor or outdoor use
- pedestrian or vehicle traffic
- concrete or resin system
- decorative or guidance purpose
- total paving area
- daytime light exposure
- expected nighttime environment
These details immediately narrow down the right material specification.
Examples: garden path, guidance route and driveway
For a decorative garden path, appearance may be the priority.
For a pathway that needs stronger nighttime recognition, glow visibility becomes more important.
For a driveway, bonding and surface durability matter much more.
The same product cannot be selected purely by color.
Choose particle size for the intended visual effect
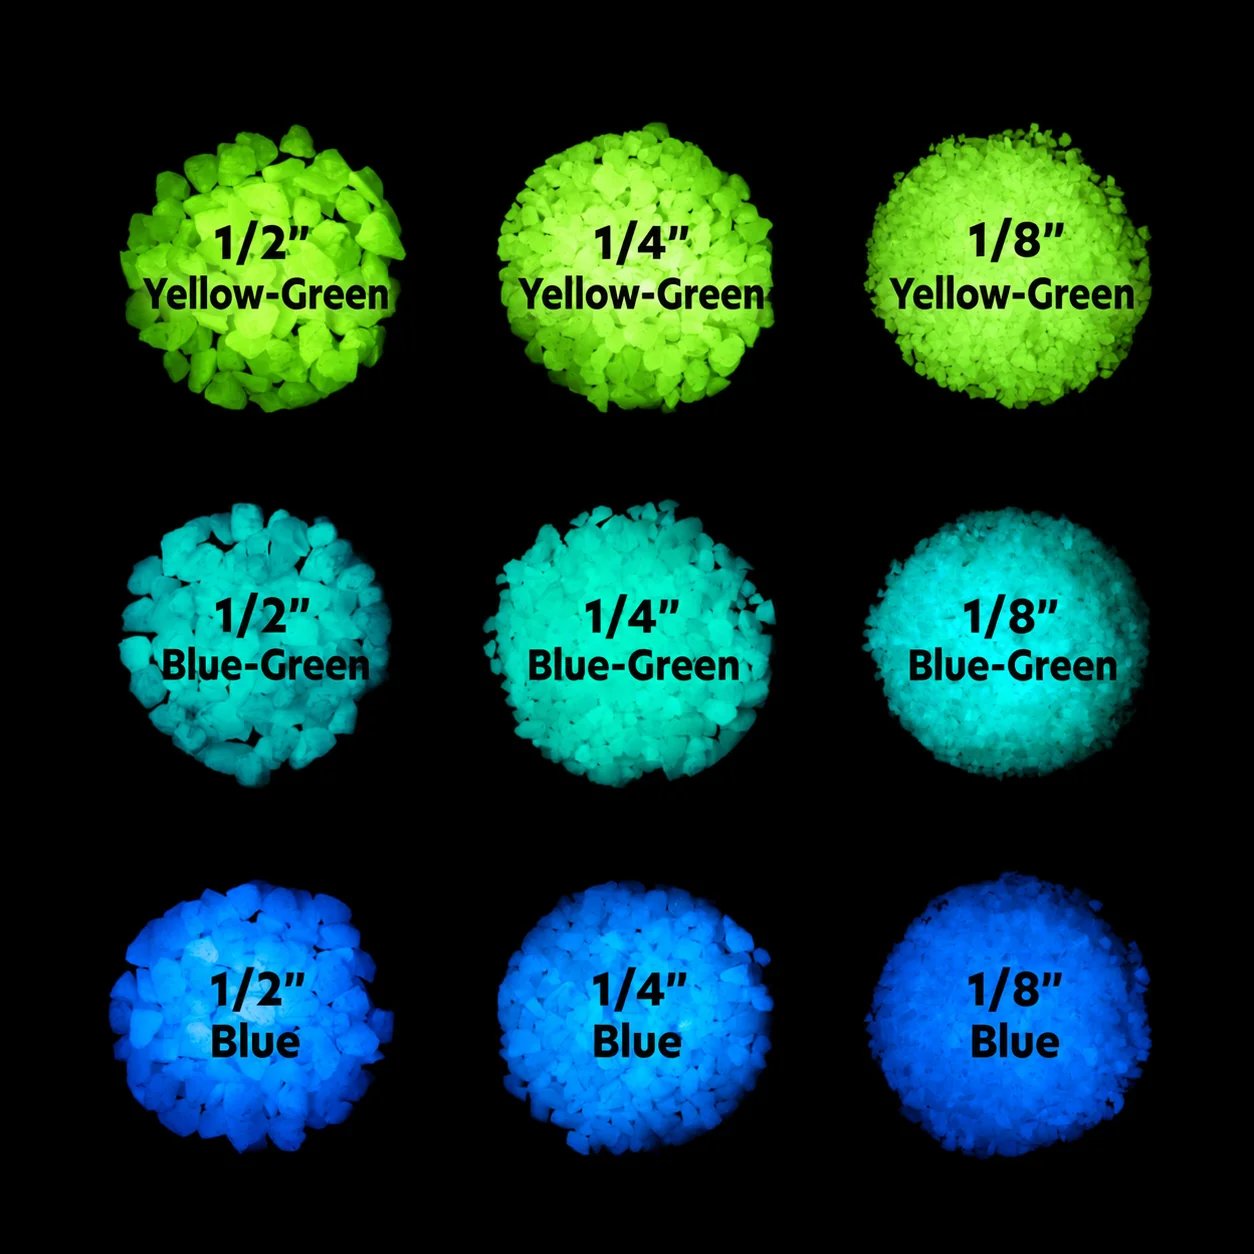
Photoluminescent aggregate is available in different particle sizes.
Three common sizes are:
1–5mm
5–10mm
10–20mm
They do not simply represent “small, medium and large.”
Each size creates a different finished surface.
1–5mm: Fine and Dense
Smaller glow aggregate creates many small luminous points across the surface.
It is useful when you want:
- finer distribution
- smoother visual appearance
- higher point density
- decorative concrete
- thin surface applications
From a distance, this can create a more continuous-looking luminous texture.
5–10mm: Balanced
For many pathways and landscape projects, 5–10mm is a practical middle option.
The individual stones remain clearly visible, but the surface does not look overly coarse.
This size works well for:
- pedestrian pathways
- gardens
- courtyards
- landscape paving
- decorative concrete
If a buyer is unsure which size to begin testing, this is often a useful size for a sample section.
10–20mm: Bold and Decorative
Large photoluminescent aggregate creates fewer but much more visible luminous points.
It works particularly well in:
- decorative landscape areas
- garden borders
- feature paving
- exposed aggregate designs
- ornamental stone applications
But bigger does not automatically mean brighter.
A large stone only performs well if enough of its surface remains exposed to light.
That leads to one of the most important practical points in luminous paving.
Balance secure embedment with exposed luminous surface
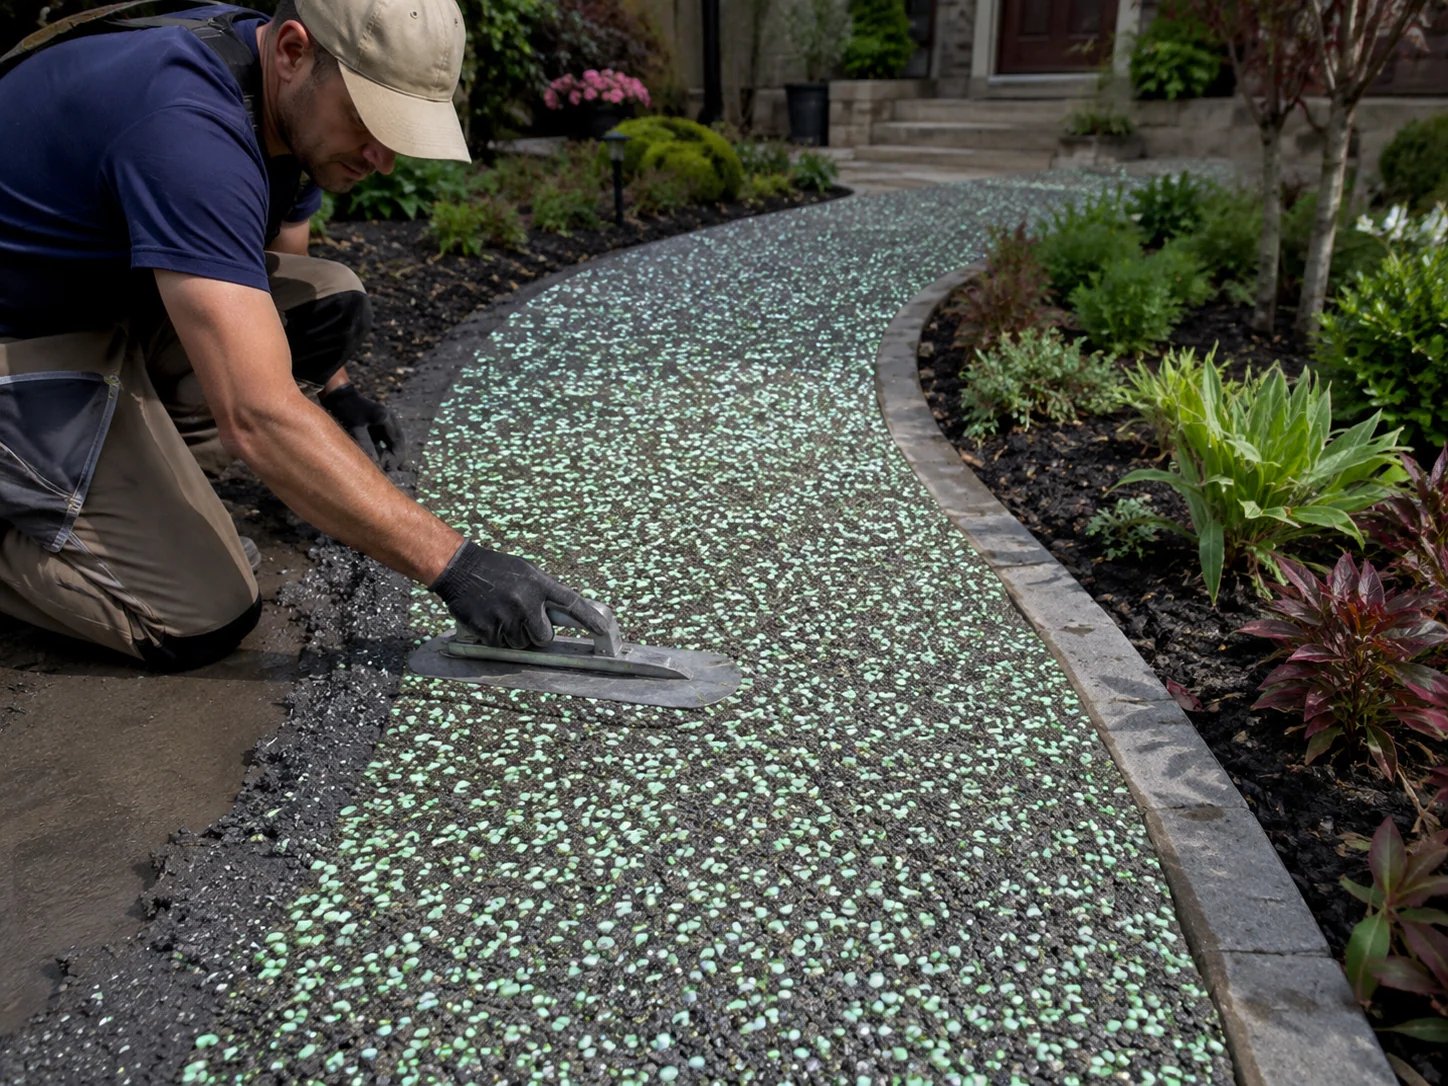
You can buy a high-quality glow in the dark aggregate, but if most of it is buried under concrete or resin, the final result may still look weak.
Photoluminescent material needs two things:
Light exposure during charging
and
Visible surface area after dark
If the luminous aggregate is completely buried, it cannot efficiently receive light or release visible glow.
This is why installation design is just as important as material selection.
Keep enough material exposed without weakening the bond
The aggregate needs to be:
embedded enough to remain secure, but exposed enough to absorb and release light.
Too deep:
Weak visible glow.
Too shallow:
Poor bonding and possible aggregate loss.
The correct balance depends on the pavement system.
Choose glow color for decoration or guidance

Another question buyers often ask is:
“Which color is best?”
There is no universal answer.
For outdoor paving, three common options are:
Blue
Blue creates a cooler and more modern visual effect.
It is popular for:
- pools
- landscape features
- resorts
- decorative gardens
- modern pathways
It tends to be selected when appearance is the main priority.
Blue-Green
Blue-green offers a good balance between decorative appearance and nighttime visibility.
It is useful for:
- landscape paths
- courtyards
- pedestrian areas
- public-space decoration
For many general landscape projects, it is one of the easiest colors to work with.
Yellow-Green
Yellow-green usually appears more noticeable to the human eye in dark environments.
It is often selected for:
- pathway edges
- pedestrian routes
- outdoor guidance
- landscape borders
If nighttime recognition is more important than atmosphere, yellow-green is worth testing first.
Test the actual pavement background with the aggregate
This is one of the most underestimated factors.
A photoluminescent aggregate sample can look excellent on a white table but completely different once installed into gray concrete.
Your base color changes the visual result.
Light-colored surfaces
White, beige and light gray backgrounds usually allow luminous aggregate to remain visually clear.
Standard gray concrete
Creates a more neutral daytime appearance.
Blue, blue-green and yellow-green can all work well.
Dark surfaces
Dark pavement can produce dramatic nighttime contrast, but the appearance during daylight will also change.
This is why we recommend testing:
glow color + aggregate size + actual pavement color
as one system.
Not separately.
Check the real daytime and artificial-light conditions
Many glow products are photographed after being charged under strong lights.
Real projects do not always have those conditions.
Before ordering, ask:
How much light will the pavement actually receive during the day?
For example:
A completely open garden path may receive hours of direct sunlight.
A pathway under trees may receive much less.
A covered corridor may rely mostly on artificial lighting.
All three can produce different results with the same material.
Check light availability before increasing material quantity
If an area receives very little daylight, changing to “more glow stones” may not solve the problem.
The charging environment itself may be the limiting factor.
That is something worth checking before increasing material consumption.
Understand brightness decay and glow-time test conditions
Buyers often ask:
“How many hours does it glow?”
This sounds like a simple specification, but it can be misleading.
Photoluminescent materials generally glow strongest soon after the surrounding light disappears.
Then the visible brightness gradually decreases.
It is not like switching on an LED lamp and getting constant brightness for eight hours.
So when comparing suppliers, don't look only at a statement such as:
“8–12 hours glow.”
Also ask:
- how was it charged?
- how long was the charging period?
- what light source was used?
- how dark was the test environment?
- when was brightness measured?
Test conditions matter.
Concrete, Resin or Surface Broadcasting?
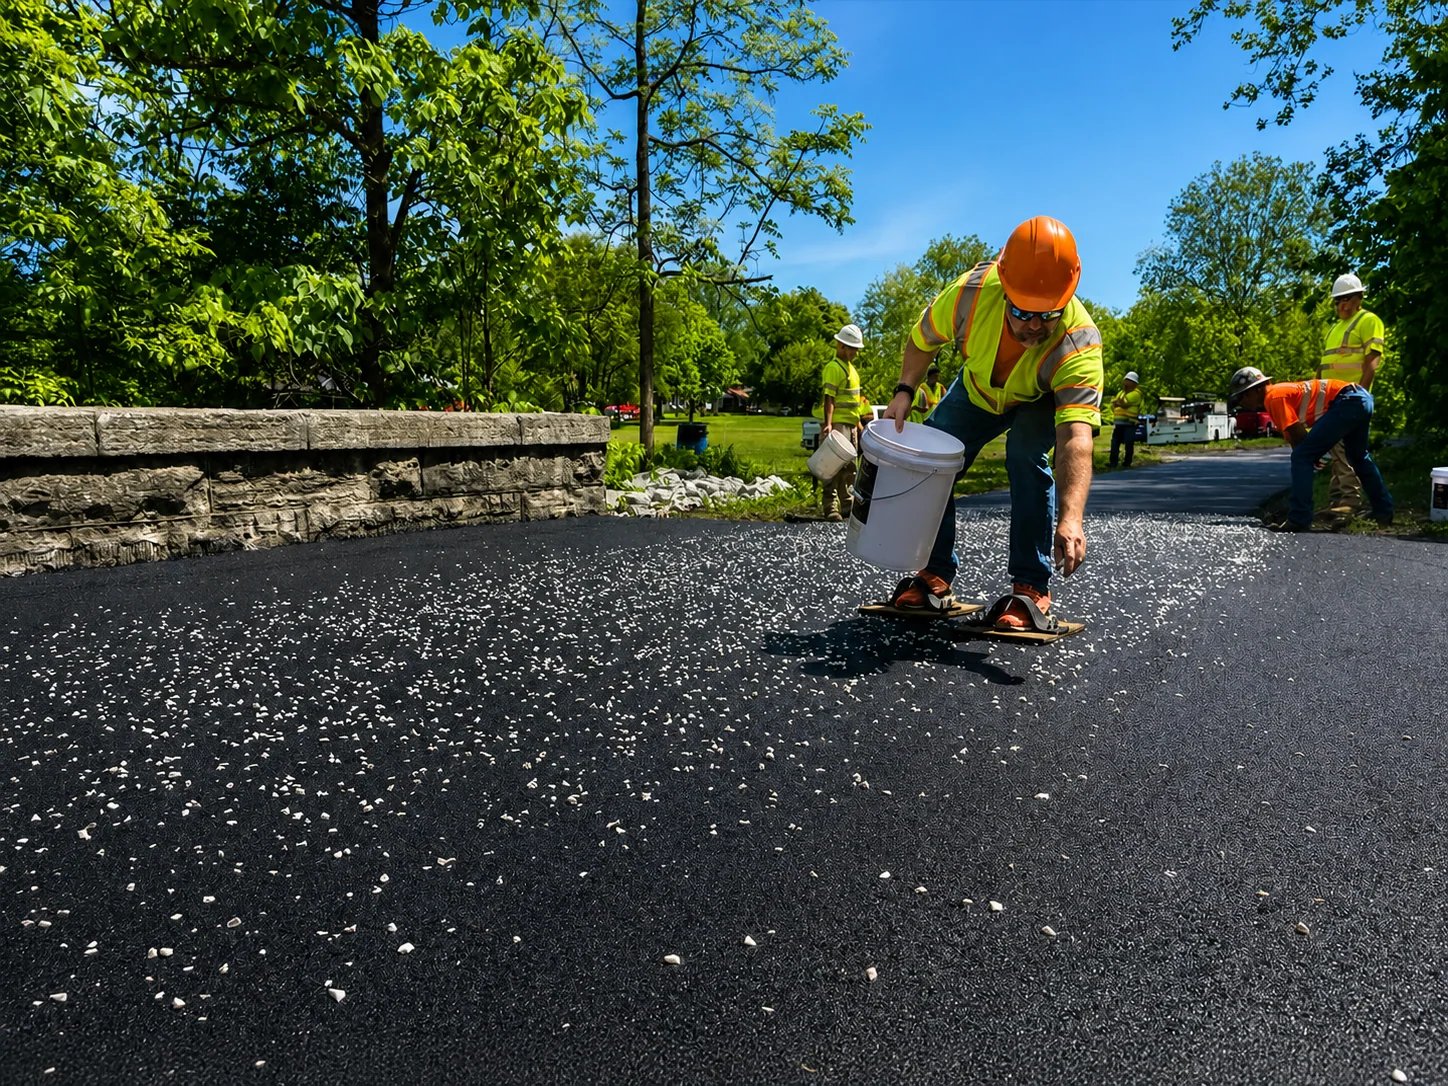
The installation method should be decided before ordering large quantities.
Concrete
Photoluminescent aggregate can be integrated into concrete surfaces.
However, putting expensive luminous material throughout the full concrete thickness usually wastes material.
Aggregate buried deep inside the slab does not contribute much to the visible effect.
Resin Systems
Transparent or light-colored resin can work well because the glow stones remain visually exposed.
But the resin itself must be suitable for:
- outdoor use
- UV exposure
- moisture
- traffic
- the required pavement performance
Surface Broadcasting
In some applications, glow aggregate is distributed near the upper surface and partially embedded.
This can improve material efficiency because more luminous surface remains visible.
But installation depth must still provide adequate bonding.
Compare physical samples before a large order
For photoluminescent materials, samples are particularly valuable.
Why?
Because online images cannot accurately show glow intensity.
Photography can change dramatically depending on:
- camera exposure
- shutter speed
- editing
- ambient darkness
- charging conditions
- screen brightness
A physical sample allows you to compare the material under your own project conditions.
Use the same charging and observation conditions
Instead of simply putting the sample in a dark room, try this:
- Charge all samples under the same light source.
- Use the same charging time.
- Move them into the same dark environment.
- Compare them immediately.
- Compare again after 30 minutes.
- Check them again after several hours.
This gives a much more realistic comparison.
Build an installed test area before full application
For larger paving projects, a sample bag is useful.
But a small installed test area is even better.
Why?
Because once aggregate enters concrete or resin, the finished effect changes.
A test panel lets you evaluate:
- aggregate density
- particle size
- bonding
- surface exposure
- pavement color
- nighttime glow
- daytime appearance
- cleaning
- texture
For commercial projects, this step can prevent expensive changes after installation begins.
How Much Photoluminescent Aggregate Should You Order?
There is no single kg/m² figure that works for every project.
The correct amount depends on:
- particle size
- application density
- pavement system
- whether the aggregate is mixed or broadcast
- desired glow effect
- project design
A decorative scattered effect uses much less material than a dense luminous surface.
This is why a supplier should ideally ask for:
area + application method + particle size + desired effect
before recommending a quantity.
If someone gives exactly the same consumption figure for every project, ask how that number was calculated.
Questions Buyers Should Ask a Supplier
Before placing an order, we recommend confirming at least these points:
- What glow colors are available?
- What particle sizes are available?
- Is the material suitable for outdoor use?
- What pavement systems can it be used with?
- How should the aggregate be installed?
- How should it be charged for testing?
- Can samples be supplied?
- Can different colors or sizes be mixed?
- What packaging is available?
- What quantity is recommended for the actual project area?
These questions are far more useful than asking for price alone.
A Real Project Lesson: More Material Doesn't Always Mean More Glow
One of the most important lessons from luminous paving projects is this:
Increasing the quantity of glow aggregate does not always increase visible brightness proportionally.
Imagine two installations.
Project A
Uses a large amount of photoluminescent aggregate, but much of it is buried beneath the surface.
Project B
Uses less aggregate, but the stones are distributed evenly and remain properly exposed.
Project B may actually appear more luminous.
That is why material efficiency should be judged by visible luminous surface, not only kilograms used.
This is also why installation method needs to be discussed before calculating the final quantity.
Follow the project-to-sample selection sequence
For a new project, we normally recommend making decisions in this order:
Step 1: Define the application
Pathway, landscape, concrete, driveway, pool area or decorative paving.
Step 2: Choose the visual goal
Decorative glow, nighttime guidance or stronger luminous effect.
Step 3: Select the glow color
Blue, blue-green or yellow-green.
Step 4: Select particle size
1–5mm, 5–10mm or 10–20mm.
Step 5: Confirm the pavement system
Concrete, resin or another compatible binder.
Step 6: Test a sample
Check the material under the actual lighting conditions.
Step 7: Build a small test section
Only then finalize the material quantity for the full project.
This process may take slightly longer at the beginning.
But it usually saves much more time and material later.
Frequently Asked Questions
Is photoluminescent aggregate suitable for outdoor use?
Yes, it can be used in outdoor paving and landscape applications when installed with an appropriate pavement system.
Does photoluminescent aggregate need electricity?
No. It stores energy from available light and releases it as an afterglow when the surroundings become dark.
Which size is best for pathways?
For many pathway applications, 5–10mm provides a useful balance between visible stone size and surface distribution. Smaller or larger sizes may be better depending on the desired finish.
Which glow color is brightest?
Yellow-green often appears more noticeable to the human eye, while blue is commonly selected for decorative projects. Actual results depend on charging and installation conditions.
Can glow aggregate be mixed into concrete?
Yes, but luminous aggregate buried too deeply contributes little to visible nighttime glow. Surface exposure needs to be considered.
Can I mix different sizes?
Yes, depending on the design. Mixing sizes can create a more natural-looking distribution, but a test panel should be made first.
Should I buy directly from photos?
For a small decorative project, photos may help with initial selection. For larger projects, physical samples and a test installation are strongly recommended.
Test the complete paving system before ordering
Choosing photoluminescent aggregate for outdoor paving should not start with one question:
“Which one is cheapest?”
It should start with:
“What result does this project actually need?”
The right combination of:
color + particle size + surface exposure + installation method + charging environment
usually matters more than any one specification alone.
For buyers planning a large pathway, landscape or decorative pavement project, test the complete system before ordering the full quantity.
That is the simplest way to turn an attractive product sample into an attractive finished pavement.