
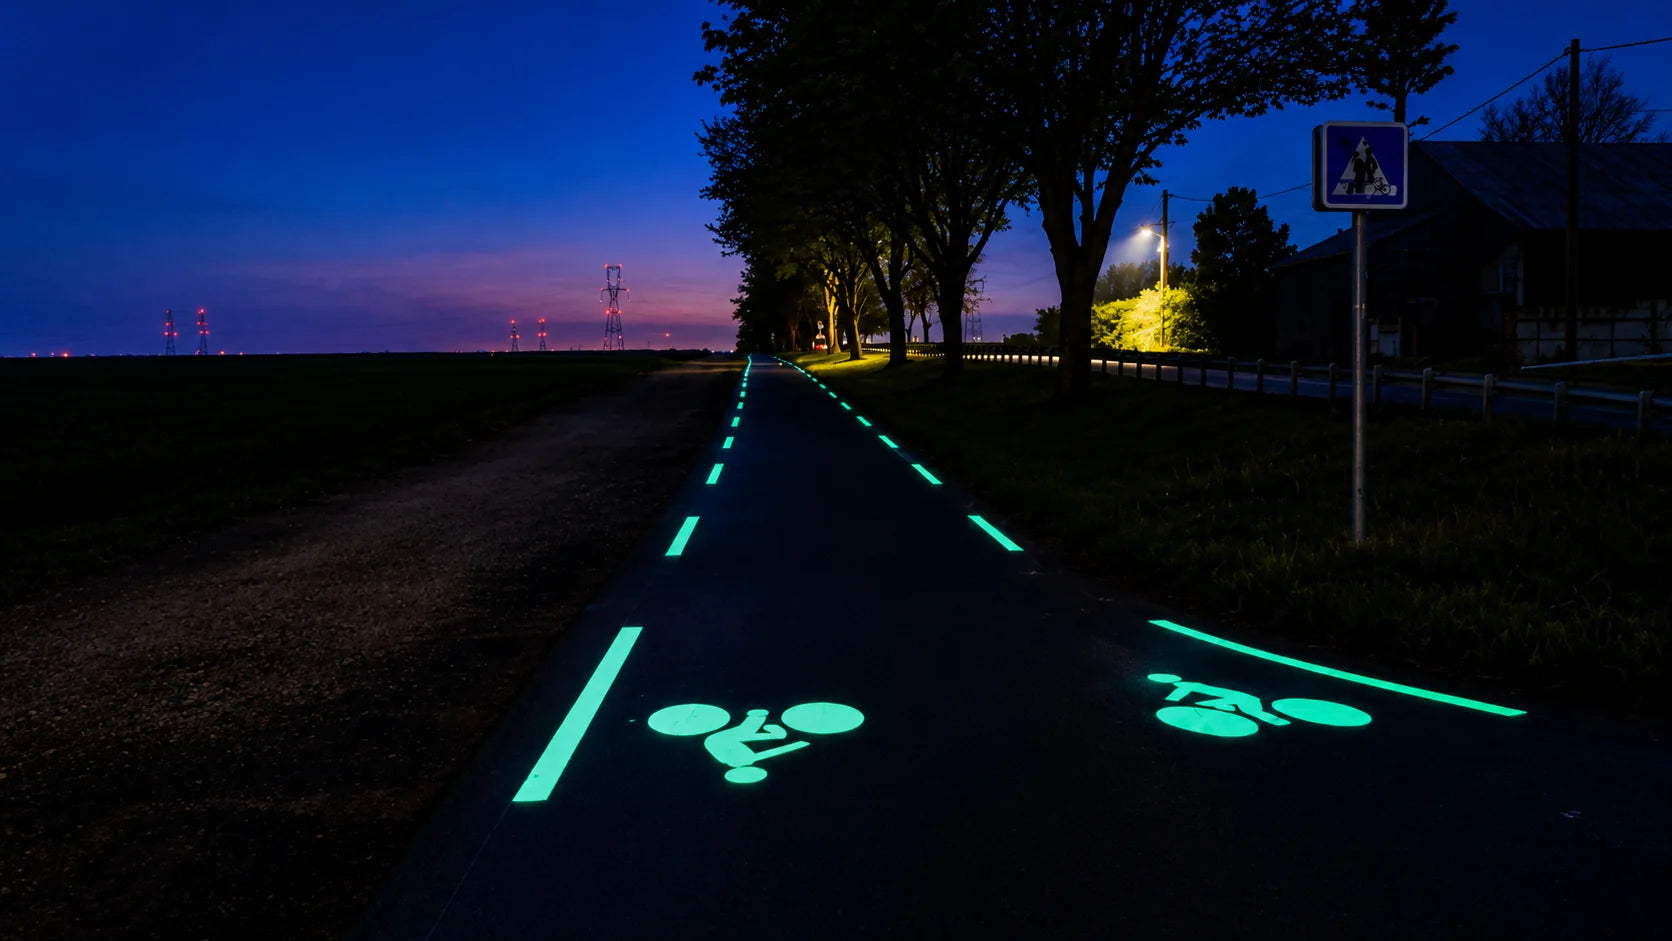

Photoluminescent aggregate can create a unique nighttime effect for:
-
pedestrian pathways
-
bike trails
-
parks
-
gardens
-
resorts
-
landscape paving projects
However, the final glow effect depends on much more than the material itself.
A high-quality glow aggregate can still perform poorly if the installation method is not suitable.
Many problems that appear to be “material problems” are actually caused by:
-
insufficient surface exposure
-
incorrect installation
-
unsuitable pavement conditions
-
poor project planning
This guide explains the most common installation mistakes and how to avoid them.
Mistake 1: Embedding the Aggregate Too Deeply
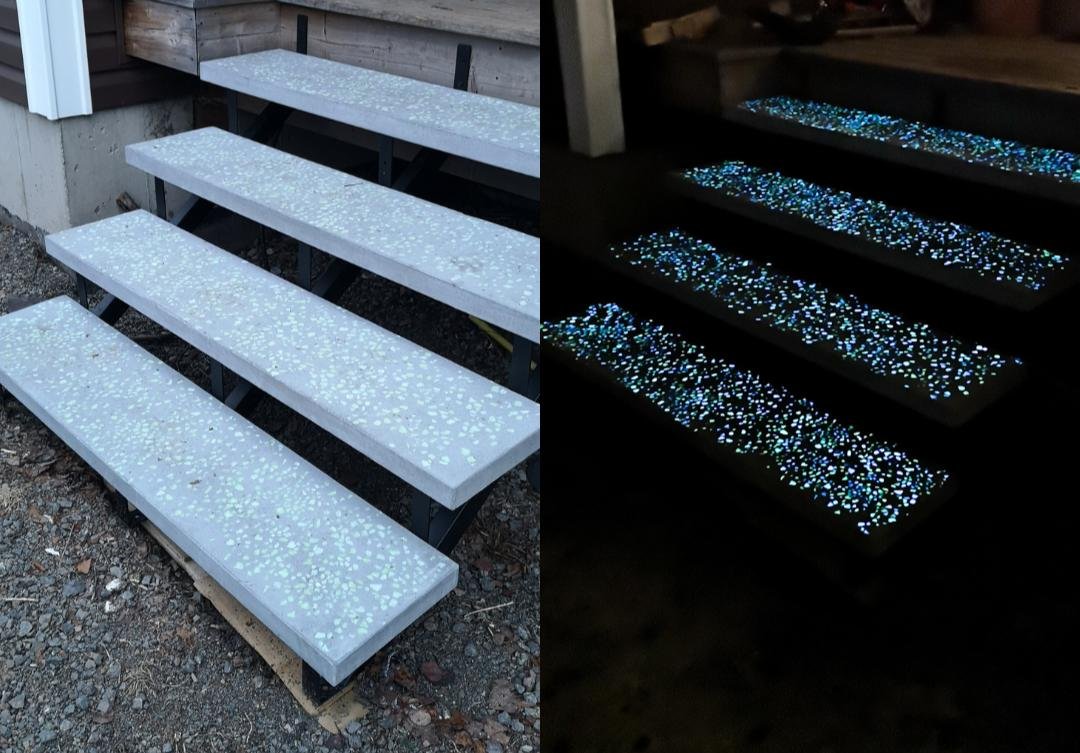
One of the most common mistakes is placing the luminous particles too far below the surface.
Photoluminescent aggregate needs exposure to light during the day.
If the particles are buried too deeply:
-
less light reaches the luminous material
-
fewer particles are visible
-
nighttime appearance becomes weaker
The goal is not simply to place the aggregate inside the pavement.
The goal is to create the correct balance:
secure attachment + sufficient surface exposure
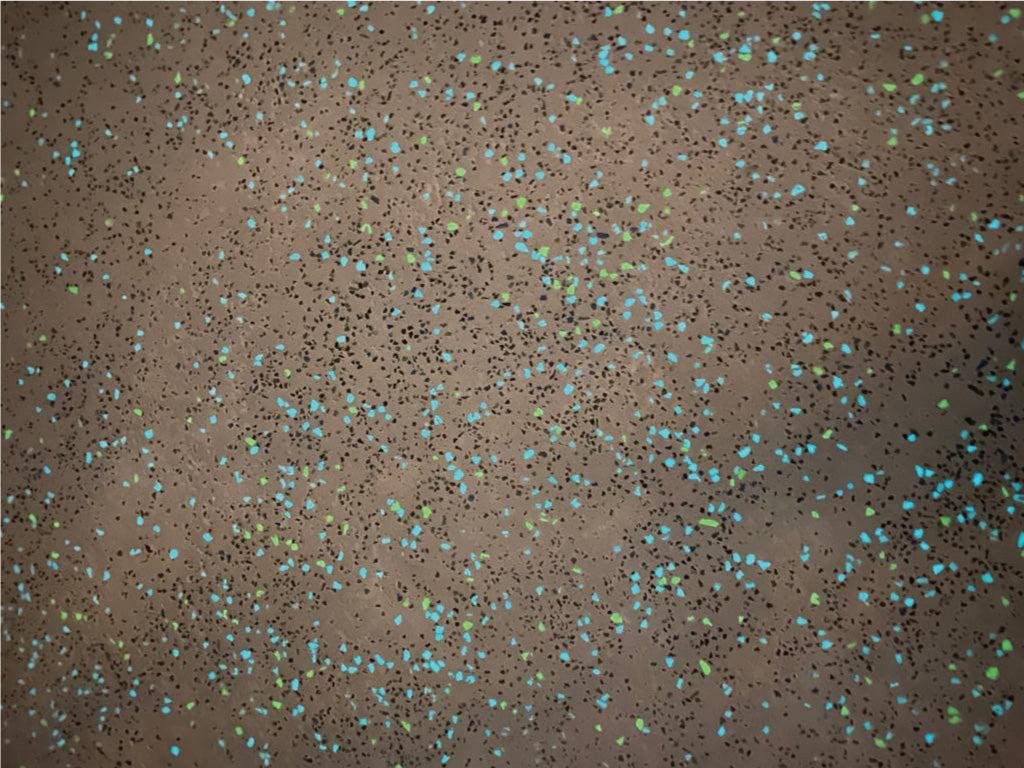
For concrete applications, the particles should be firmly embedded while keeping enough visible surface area.
Mistake 2: Leaving Particles Too Loose on the Surface
The opposite problem is also common.
Some installers place glow stones on the surface without proper embedding.
This may cause:
-
loose particles
-
uneven appearance
-
reduced durability
-
particle loss over time
A successful installation should make the aggregate part of the pavement system.
The material should not behave like decorative gravel placed on top.
Mistake 3: Choosing the Wrong Particle Size
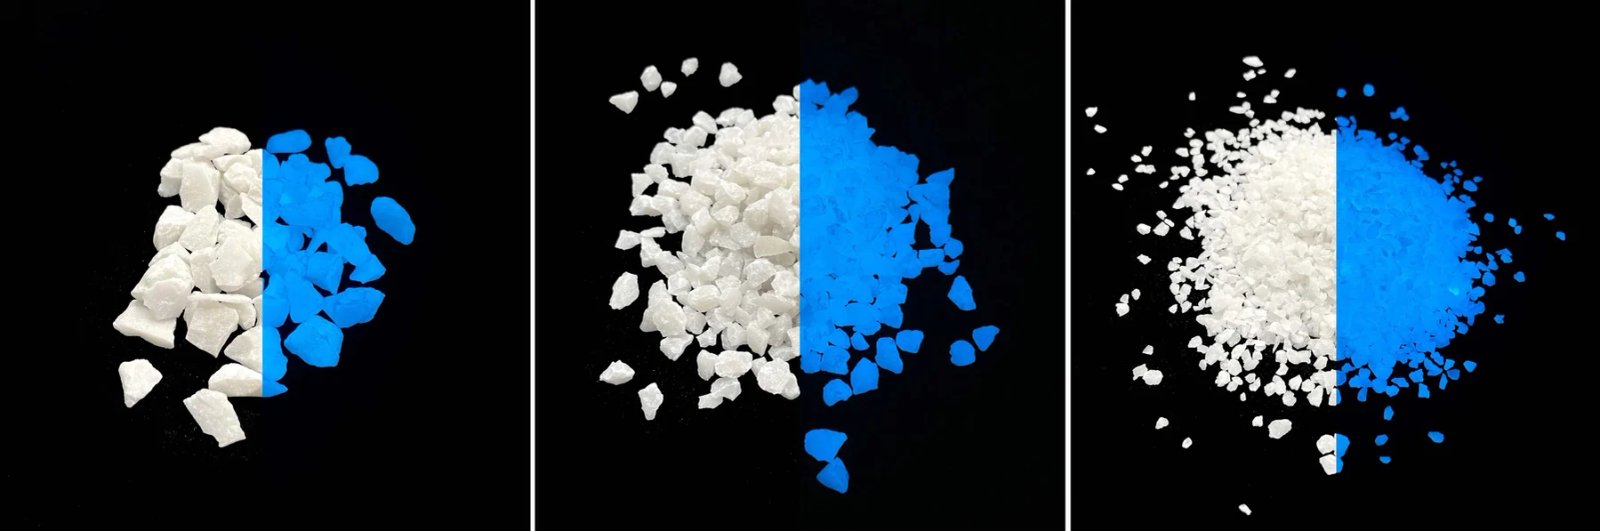
Particle size affects both appearance and installation performance.
Using the wrong size can create problems.
Small particles may provide:
-
smoother appearance
-
more detailed patterns
Large particles may provide:
-
stronger individual glow points
-
decorative impact
However, large particles may require more attention to:
-
surface texture
-
pedestrian comfort
-
embedment depth
The correct particle size depends on:
-
pavement type
-
traffic level
-
design goal
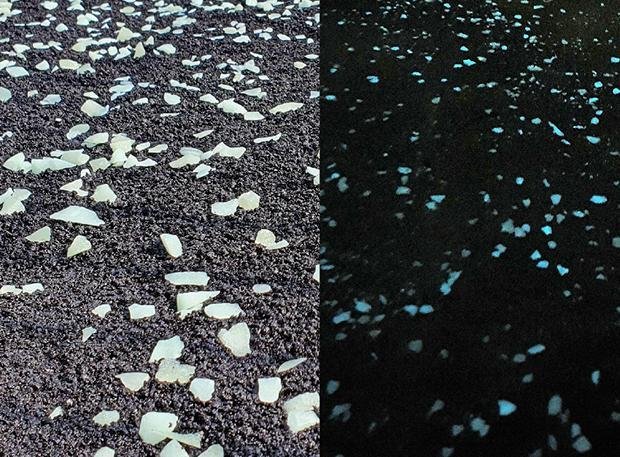
Mistake 4: Ignoring the Background Pavement Color
The same glow aggregate can look very different on different surfaces.
For example:
Dark asphalt:
-
stronger contrast
-
brighter visual effect
Light concrete:
-
softer appearance
-
more integrated landscape style
Before selecting the final glow color, consider:
-
pavement color
-
surrounding environment
-
daytime appearance
A sample panel is often the best way to confirm the result.
Mistake 5: Applying the Same Coverage Rate Everywhere
Not every area needs the same amount of luminous material.
A common mistake is using one coverage rate across the entire project.
Different areas may have different purposes:
Pathway Sections
May require moderate coverage.
Curves and Intersections
May require stronger visual guidance.
Entrance Areas
May use higher-density decorative treatment.
Feature Zones
May use custom patterns.
A well-designed project uses material where it creates the most value.
Mistake 6: Skipping a Test Section
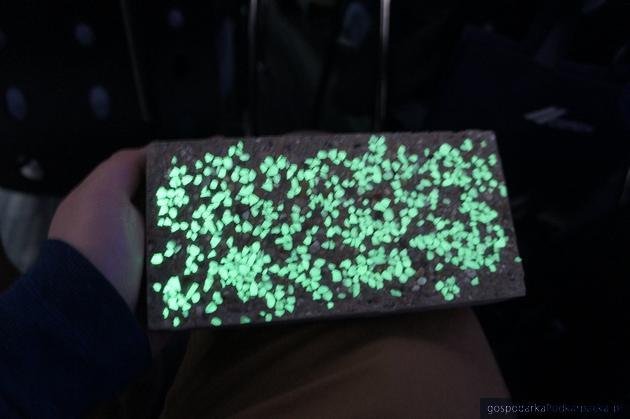
Large projects should not start directly with full installation.
A small test section can reveal:
-
actual glow appearance
-
daytime color
-
particle distribution
-
surface texture
-
installation quality
The test should be viewed:
-
during the day
-
shortly after sunset
-
at night
A product photo cannot fully represent the final installed surface.
Mistake 7: Ignoring Surface Preparation
The existing pavement condition affects the final result.
Before installation, check:
-
cleanliness
-
strength
-
cracks
-
moisture
-
surface condition
Dust, oil or loose material can affect adhesion and durability.
Proper preparation is especially important for:
-
asphalt overlays
-
resin systems
-
decorative concrete surfaces
Mistake 8: Forgetting Maintenance Requirements
A good installation should also consider future maintenance.
Outdoor surfaces collect:
-
dust
-
leaves
-
soil
-
organic debris
These materials can cover luminous particles and reduce visible glow.
Maintenance planning should include:
-
regular cleaning
-
inspection
-
local repairs
-
keeping the surface exposed
Long-term appearance depends on both installation and maintenance.
Mistake 9: Judging Performance Only From Night Photos
Night photos can sometimes create unrealistic expectations.
Camera settings can change:
-
brightness
-
contrast
-
color appearance
A better evaluation method is:
-
Inspect the surface during daylight.
-
Confirm particle exposure.
-
Observe the pathway after charging.
-
Compare from realistic viewing distances.
The actual user experience matters more than a close-up photograph.
How Professional Installers Plan a Glow Pavement Project
A reliable process usually follows:
Step 1: Understand the Application
Define:
-
pedestrian path
-
bike lane
-
park trail
-
decorative area
Step 2: Select the Pavement System
Choose:
-
concrete
-
asphalt
-
resin-bound paving
Step 3: Select Material Parameters
Confirm:
-
glow color
-
particle size
-
coverage level
Step 4: Create a Sample Area
Evaluate:
-
daytime appearance
-
nighttime effect
-
surface quality
Step 5: Complete Full Installation
Use the approved sample as the reference.
This reduces uncertainty and improves consistency.
Why Installation Quality Matters More Than Material Quantity
A common misunderstanding is:
“More glow aggregate means better glow.”
But the visible result depends on:
-
exposure
-
distribution
-
contrast
-
charging conditions
-
installation quality
Adding more material cannot solve every problem.
A properly installed moderate amount of material can perform better than a poorly installed higher quantity.
Frequently Asked Questions
Can photoluminescent aggregate be installed in asphalt?
Yes. It can be integrated into suitable asphalt surfaces with the correct installation method.
Why does my glow pavement look weaker after installation?
Possible reasons include:
-
insufficient exposure
-
dirt covering the surface
-
excessive surrounding lighting
-
incorrect installation
Should all particles be exposed?
No. The particles need to be secure while maintaining enough visible surface area.
Is a sample panel necessary?
For larger projects, it is strongly recommended.
Can I increase glow by simply adding more aggregate?
Not always. Installation quality and surface exposure are equally important.
Final Thoughts
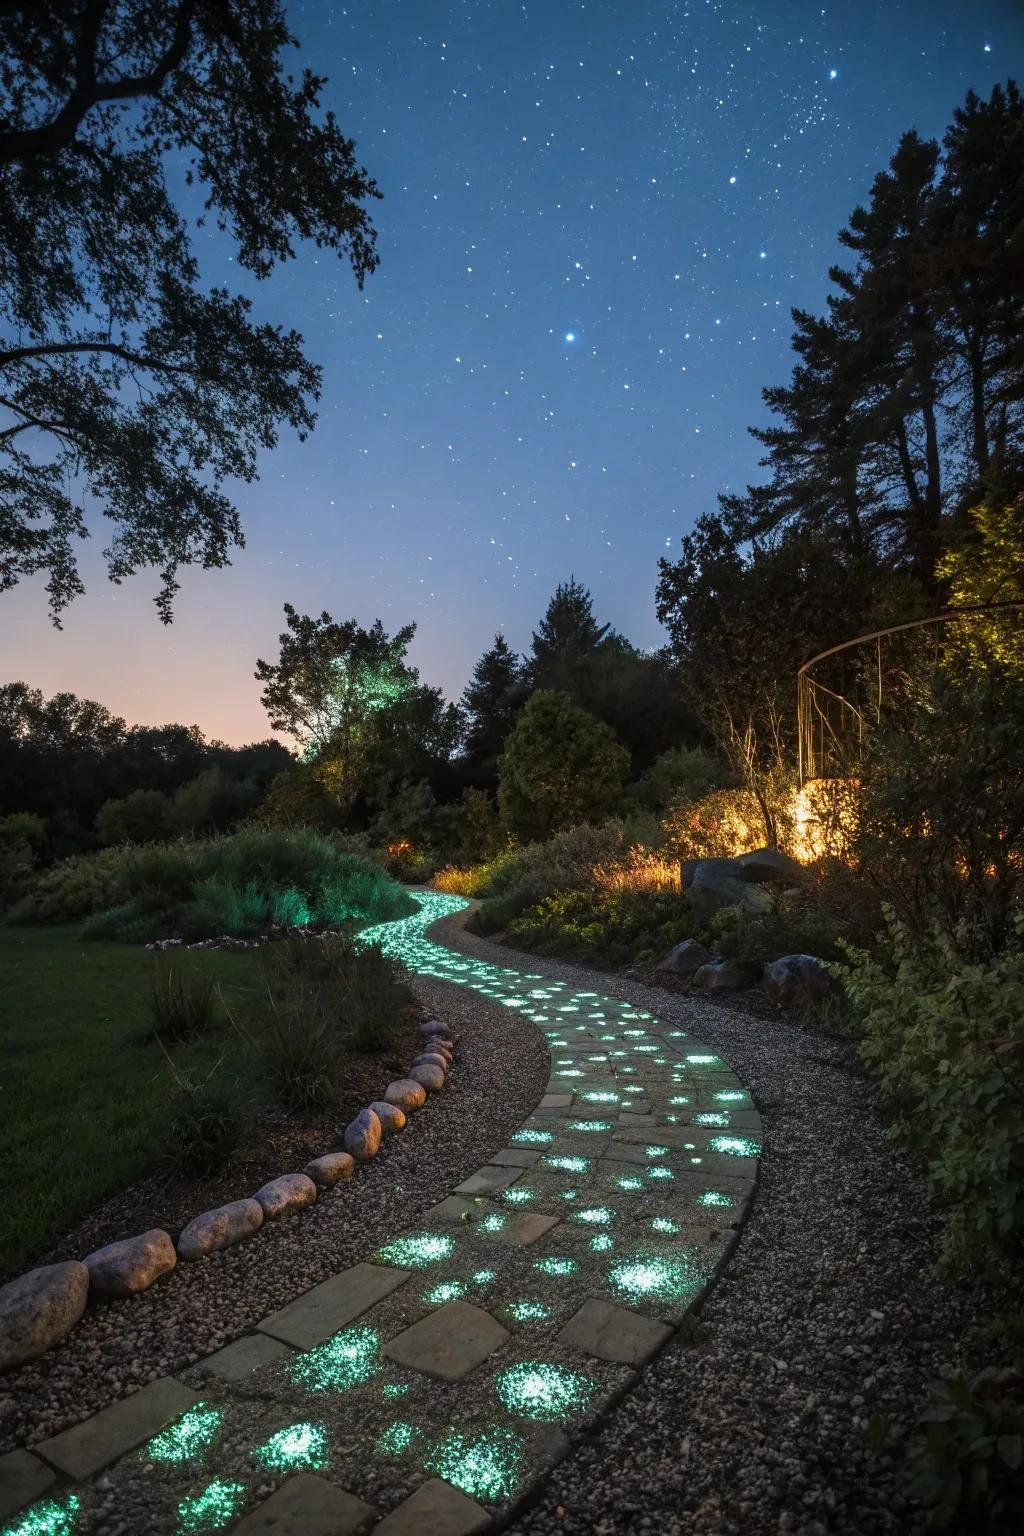
Photoluminescent aggregate pavement is a combination of material technology and installation quality.
The best results come from understanding:
where the material is used, how it is installed, and how the finished surface will be maintained.
Avoiding common mistakes can help create a pathway that looks attractive during the day and performs consistently after dark.
For contractors and project owners, the most reliable approach is:
test first → install correctly → maintain regularly.